

Over conferences, I had the opportunity to work in my back room a bit for the goal of creating a recording station. I flip most of my lessons. Flipping your lesson is when you record what you want to teach and you have your students learn via the recording. Traditional flipping is when you instruct the kids to learn outside of class via your video. I use it in an alternative way most of the time. My videos can be used for sub plans. I sometimes play a video for instruction for many reasons... it allows all students to be able to see well due to the large format on the projection screen. I can stop and replay, it's good for a review, sometimes it gives me a couple minutes to prep for these little guys, it assures all students are getting the same information, it allows students to learn ahead or behind personally on an iPad... I use it for a lot of reasons. Because I make so many videos, I wanted a station that was going to help me record them.
First, I know I have an amazing... really amazing room and great storage space, however, I don't want that to stop you from dreaming if this inspires you to want to create a similar station. You have to look at your situation and see how/what will work for you. First, let me show you my back storage room.


That's pretty much the overview of the room. I have had to do a lot of organizing to open up a space to have this recording station. It has been a work in progress over the last two years I have been in this room. Below, these two images show my 'choice materials'. I have tried to set this up for students as I'm easing into more student choice.


Here is my recording station. As you can see, it's flooded with natural light. That was by design. With all that natural light, I don't have to have a second light resource that might cast shadows. As you can see I have this propped on two twin shelves. This allows me to record at different hights according to the needs of the lesson/artwork.

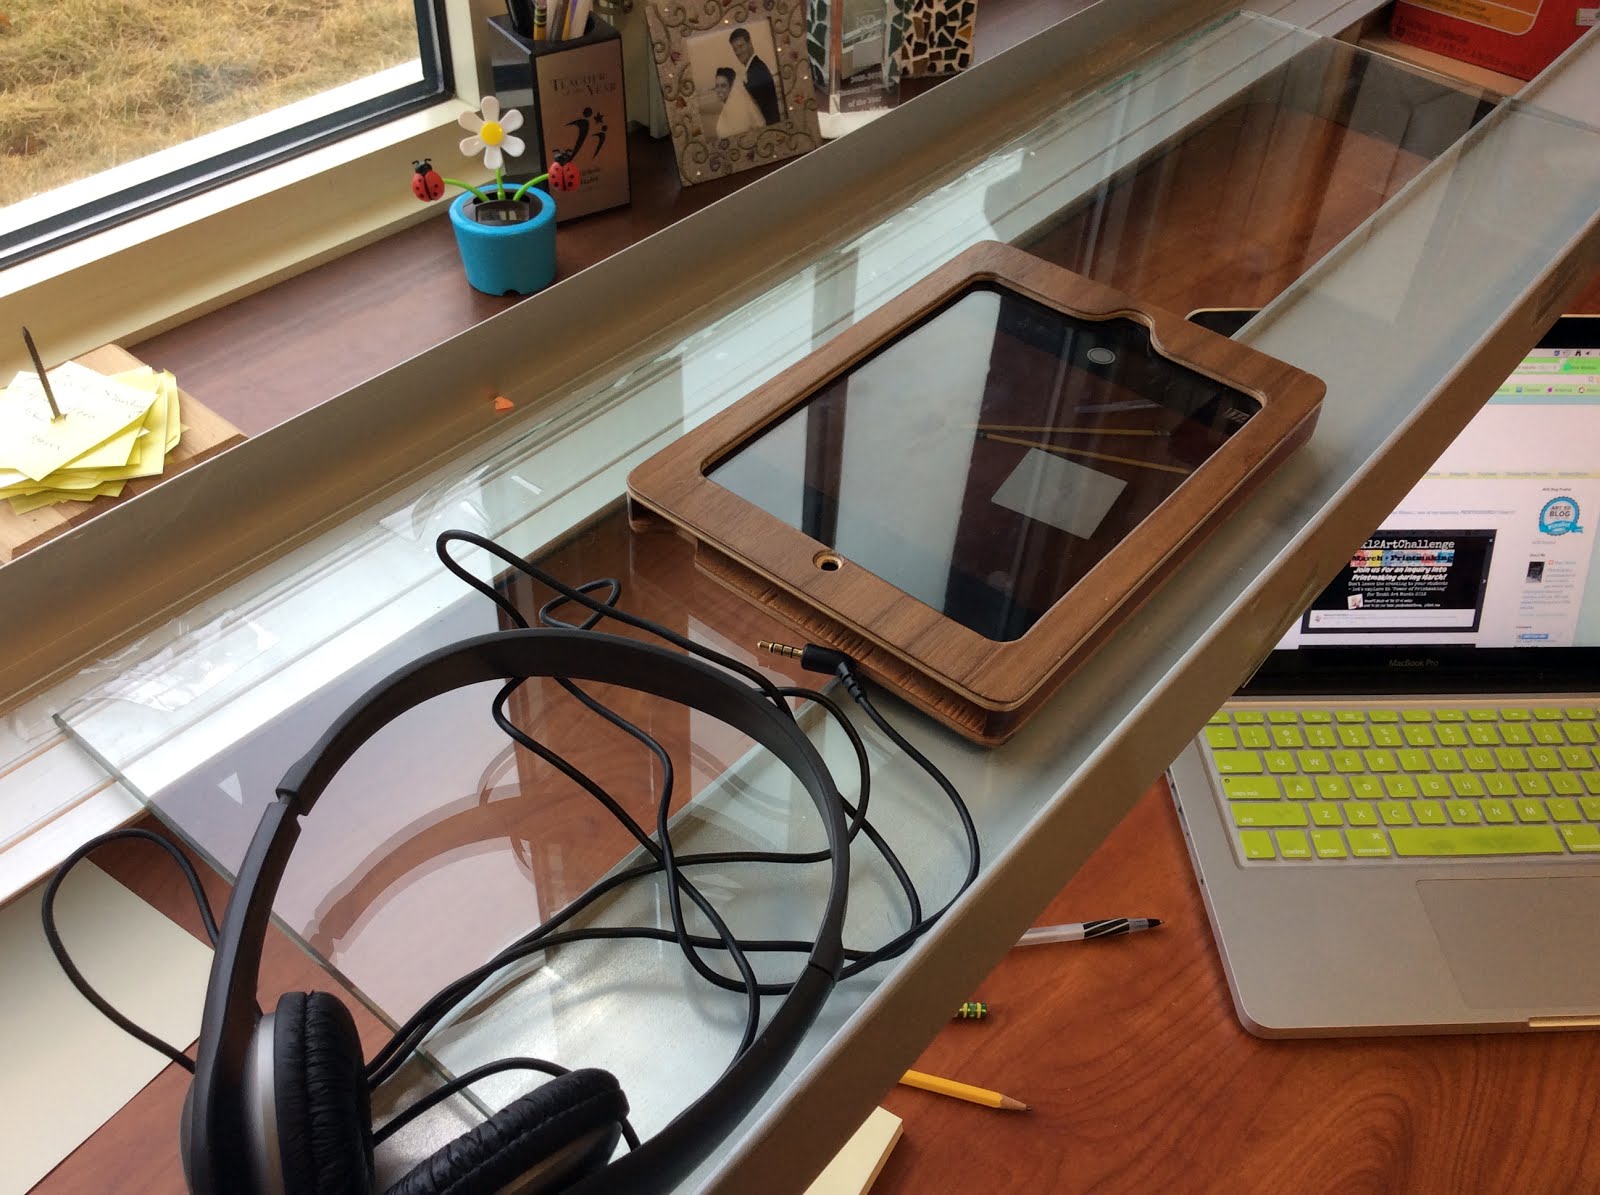
Here is how I made the contraption that holds my iPad. It is two trays from under a whiteboard. I saw them laying in the custodian's room, ready to be moved to storage... I claimed them right away. The glass is from an extra shelf I had from one of my display cases. I have it taped down to the metal trays. There is space for the iPad to lay flat on the glass. This makes it parallel to the work being recorded. You will also see a set of headphones in the picture as well. These were donated by Donors Choose and are used by my students often. I have one set place aside to be plugged into the iPad as I record. This helps the direction of the sound and makes it more clear on my videos. Many times after school programs are in my classroom and by shutting the door and using the headphones and microphone, the recordings are still successful.
I have spent years on working setting up my station and taking it down because class was coming in. I'm very excited to have a place to record now. If you have something like this, or you create a recording station after reading this... Please share it with me, I would love to see pictures.
Comment below or Tweet me @MiniMatisse
Great idea! What program do u use to record your sub lessons?
ReplyDelete