Showing posts with label Process. Show all posts

Thursday, August 8, 2019

Everyday Day Art Room- A Small Concept in Big Way


Today on Everyday Art Room I'm sharing how we have so many things to cover as Visual Arts Teachers, sometimes it's hard to know what to focus on. For many years now, I have worked on one small aspect, one concept, and made it so big that ALL students will know that term or that idea or concept for the rest of their lives. 

Here is a little more about the Monster Mediums! (Click Here)


Want to see more about the Bit-O-Bios?? Here ya go! 


Or how about Process?? Is Process what you want your kids to truly understand?? Here's how I focused on that small concept in a big way. Check out my Process Pigs by clicking here.


Tag me on social media to share what concept you are focused on this year. I would love to see what you are doing to make that small idea into a Big Deal in your classroom! 

Friday, March 16, 2018

Paper Sculpture


I'm excited to introduce you to another Guest Blogger on MiniMatisse.  Matt Cockrell is an active participant in the Art Education Twitter community. I have been impressed with his conversation during #k12ArtChat on Thursday night as well as his shares on social media. Matt Cockrell, or Mr. C`s Art Class (@MattCockrellArt) as he is known on Twitter is an Art Teacher at Martha Layne Collins High School, in Shelbyville, Kentucky.


Paper Sculpture


When I was in high school, many many moons ago (in the 90`s, shhhhh…. ha!), in my Art Classes, we didn`t do a whole lot of `upper advanced` high school projects. We did the same things, from Art 1 all the way thru Art 4. Our `projects` consisted mostly of watercolor sunsets, writing in old English with a marker, tracing, drawing the `rubber band man` to make the human figure, and making clay coil pots. Our high school art teacher didn`t allow us to `think outside the box` either. We basically did the basic `run of the mill` art, so basic that our creativity wasn`t challenged to the extent that it could have been. I mean, just how creative and engaged can someone in high school be by tracing?!
So when I became an Art Teacher, in my mid-twenties (another time for another story, and my 1st career), I vowed to myself that I wouldn`t be like my high school art teacher, that I`d not only `step outside of the box` but that I`d `create another box and another and another`. Creativity to create a lesson/ project that pushed my thinking was what I was going to strive for each and every day. By pushing myself to create `real world relevant` and `just plain cool` projects, I would, in turn, test the limits of my students thinking, and their creative process, all at the same time.
Anyway, I better get up and going with this `project/ lesson` because I could go on and on, Trust me, my students know!
Scouring both google images and youtube, for a unique sculpture opportunity, with a unique everyday, ordinary material, I came across sculpture made out of paper, by Dutch artist Peter Callesen. Mr. Callesen creates his sculpture using a single sheet of paper. I put the `youtube` video on, which is a Euromaxx Art production. (For those of you that do not know, Euromaxx Art has 40+ videos about various working artists, all around Europe) At the end of this 5-minute video, I have a short discussion about process, about how Mr. Callesen uses his materials, to sculpt.
Students then look up Mr. Callesen`s website, and scroll thru his endless supply of paper sculpture, getting inspired. Students then must choose one of his paper sculptures and blend it together with their own ideas, kinda like a half/ half creation. Half his, half theirs. They must employ the same methods that Mr. Callesen does, experimenting with the process and materials until they have it. Experimentation is the key.
Students have to do two (2) paper sculptures & have Three (3) weeks to create their projects.
While this is a choice-based project, students still have to make their paper sculpture in the same ways as Mr. Callesen.
Students also MUST only use ONE SHEET OF PAPER! This is what gets their creativity flowing! Now, they can have a backing with construction paper and even use colored construction paper within their sculpture, but, their ONE MAIN PIECE OF PAPER must be over 90% of their sculpture. There are exceptions, but, they are discussed with me, Mr. C, beforehand. Any built object, such as a hummingbird or birdhouse, MUST be built by using ONLY the Cut-out Sections of their main white drawing paper.
With over (3) Three Weeks to create these sculptures, my students will go thru the `ups and downs` of creativity. They will be productive most days, but then there are `those days`. That`s when having that positive relationship with them comes in handy.
I also play music, fairly loud, to help students focus and to inspire them while they are creating. Music helps students to zone everything else out and concentrate on the task at hand

Materials:
  1. You can use any type of paper, but I find that Jack Richeson, 90 lb. drawing paper works the best for me.(While ordering from school specialty (sax arts) might be challenging at times, especially with some product not showing up when it`s clearly listed on the packing list, or, it gets back-ordered, it IS a cheaper alternative ordering source to go through)
  2. Scissors
  3. Blending Stumps
  4. Dental Sculpting Tools (paper clips work fine too)
  5. Elmers Glue (not washable, as it will not have the `hold` that is needed)
  6. Non-latex gloves (for those students who do not want glue on their fingers)
  7. Colored construction paper
  8. Photo-copy box lids
  9. A portable fan (for drying)
  10. Drawing pencils
  11. A shelf dedicated solely to the placement of projects/ materials while student work on these.
  12. Finally, having plenty of Patience! This will take time

This project (I don`t use the term `unit` in my classroom because that's a word my students hear all the time in their regular classes. In the Art Studio, we do projects!), is a mix between learn-by-watching, learn-by-experimenting/ doing and choice based.
Students use these Elements of Art within their sculptures: Line, Shape, and Form.
The cut-out sections also allow students to play around with `positive and negative space` which also turns those cut-out sections into the `shadow`, creating an interesting, created look of `shadow and light`!
Students learn that anybody can make art if they put forth their creative effort. Students also learn how a professional artist, from northern Europe, makes a living by sculpting with paper. In our school, we use Standards Based Grading. When students near the end of their project (and I only collect them on the due date not before), I not only push their creative limits by giving them advice on how to make their projects better but the student and I discuss ways for them to go `above and beyond` any expectations.
Matt has so many great ideas and he is totally open to answering questions via Twitter. Be sure to find and follow Matt on Twitter Mr. C's Art Class, @MattCockrellArt.

Saturday, January 6, 2018

Share the Process using Time-lapse


Using patterns in Art Class is critical to my curriculum. Kindergarten student start learning patterns in Math class early in the year school, so by the New Year, it's a good time to bring it into the art class and do a little review for students who might need to work on the ideas of patterns in a very visual way. Since this concept is new in the Art Studio, I like to give my class a chance to create patterns in the security of a group for the first lesson. I developed a Collaborative Patterns lesson last year. See the previous post for pictures and an explanation video that is student friendly.


Last year, I shared the lesson with pictures on Seesaw and the parents were very receptive.  I wanted to show them the process this year. Show them all the excitement and teamwork that goes into this project.  I created stations by taping down a sheet of large format paper and set some blocks or bottle caps beside it. I chose to set up iPads over each of the stations. Once the kids were in place I simply started the time-lapse on the iPad. 


One of my favorite parts of using the iPads is the ability to show the videos in class using AirPlay. It's a bit glitchy for me sometimes, but when it works... it's amazing! In the video, you can see that the students watch themselves all at the same time. I do this kind of review for stop-motion projects as well. 


When finished, I used AirDrop to send all the videos to my one iPad and I placed the clips together in iMovie.  With a little editing (adding music, speeding up the time-lapse) I then shared it to Seesaw. A quick caption in Seesaw explained to parents the concepts covered for the day. In this case, patterns and working collaboratively. 

This process of recording in time-lapse can be used for all learners.  With older students, you can have them recording their process on their own, and sharing it on social media. I use it for my lessons too.  I often record the process in time-lapse so the kids can see all the actions but in a short amount of time.  If you are unsure of how to use time-lapse, check out this blog post by Matt Klein, How-to Geek.

Image found on HTG by Matt Klein

I know some of you are wondering where do I get those awesome iPad sands.  I know I would be.  Get decided to purchase them through curriculum review and I use them on a very regular basis.  Here is a post explaining where to get these great iPad Stands (click here).

Monday, November 28, 2016

Careers in Art- Botanist


I am continuing to work on #CareersInArt with my 3rd grade.  This one was a blast.  I asked the students to 'Become a Botanist'. Yes, a Botanist is a plant Scientist... but I explain that many times these Scientists need Artist skills to allow them to communicate their findings to others. Here is the flipped video that I presented to my Artist at the start of class. 


I brought in a lot of veggies and fruit.  I tried to find things that my students might otherwise not have an opportunity to interact with. I brought in the Key Limes because they smell amazing, the veggies and sunflower from my garden, and some fun fruit that were even new to my eye and pallet. 


When we think of teaching preschoolers we think of giving them experiences to welcome their five senses.  I tried to give my 3rd graders the same thing.  I let them touch, smell, look... nope, no tasting (not messing with allergies with fruits I'm not familiar with).  I even let the kids take one sunflower seed if they wanted to draw it, or pull it apart... or, many students put it in their pocket to bring it home to 'plant' it. Typically, growing a sunflower doesn't work really well in November in Minnesota... but who am I to tell them no. 


In the video, I showed the kids how to do some expansion on their observational drawing. I was shocked to see the little masterworks that they created from a quick project sample and a few suggestions in the flipped lesson.


While becoming a Botanist, some students explored watercolors.  I asked them to only use one sheet of watercolor paper, and I think this helped many students be a little more controlled with their paintings. 


Because the kids were only asked to use one watercolor paper, I also found that they chose to do practice paintings first on recycled paper.  I love when students make the choices to better their Artwork without me having to mention every step... sometimes, I just forget. This is another way that I have found success in choice-based learning. Students are starting to really think like an Artist in the Art Studio.


Our Media Center at Hassan is really wonderful.  I just have to go on upstairs to find some amazing books that will support any lesson I teach. 


One of the most successful stations that I saw in the choices given was collage work. I have some boxes labeled collage and they are filled with painted paper from previous projects. Use the good stuff... right?? I told the kids to have at the paper and they created amazing works.


After students finished their projects in class, I asked them to place them in the front of the room.  We took the time to look at the Art created in class.  We had a great discussion and students were able to share and talk about the work created.  This was a powerful wrap-up to this lesson. 


Monday, November 14, 2016

Artist Trading Cards- Sharpie Bleeds


I was inspired by Jenny Andrews Anderson.  Jenny is an Actress who became wildly successful as a painter.  I was drawn to her images but have learned about her from investigating articles on her (click here), Images on her website, and Instagram. For my class, I love the idea of a living abstract artist.  That she is an actress and also an artist.  Love that she needs to create... and has found multiple ways to express herself.  These are amazing messages to share with my students.  On a personal level, she seems to be a little sarcastic and has a good sense of humor.  These images below are what I'm basing my inspiration on for this lesson.  her work has evolved and she has many series that she has explored in her art... but these happy, bring colored abstract works are what I'm thinking about in this lesson. 


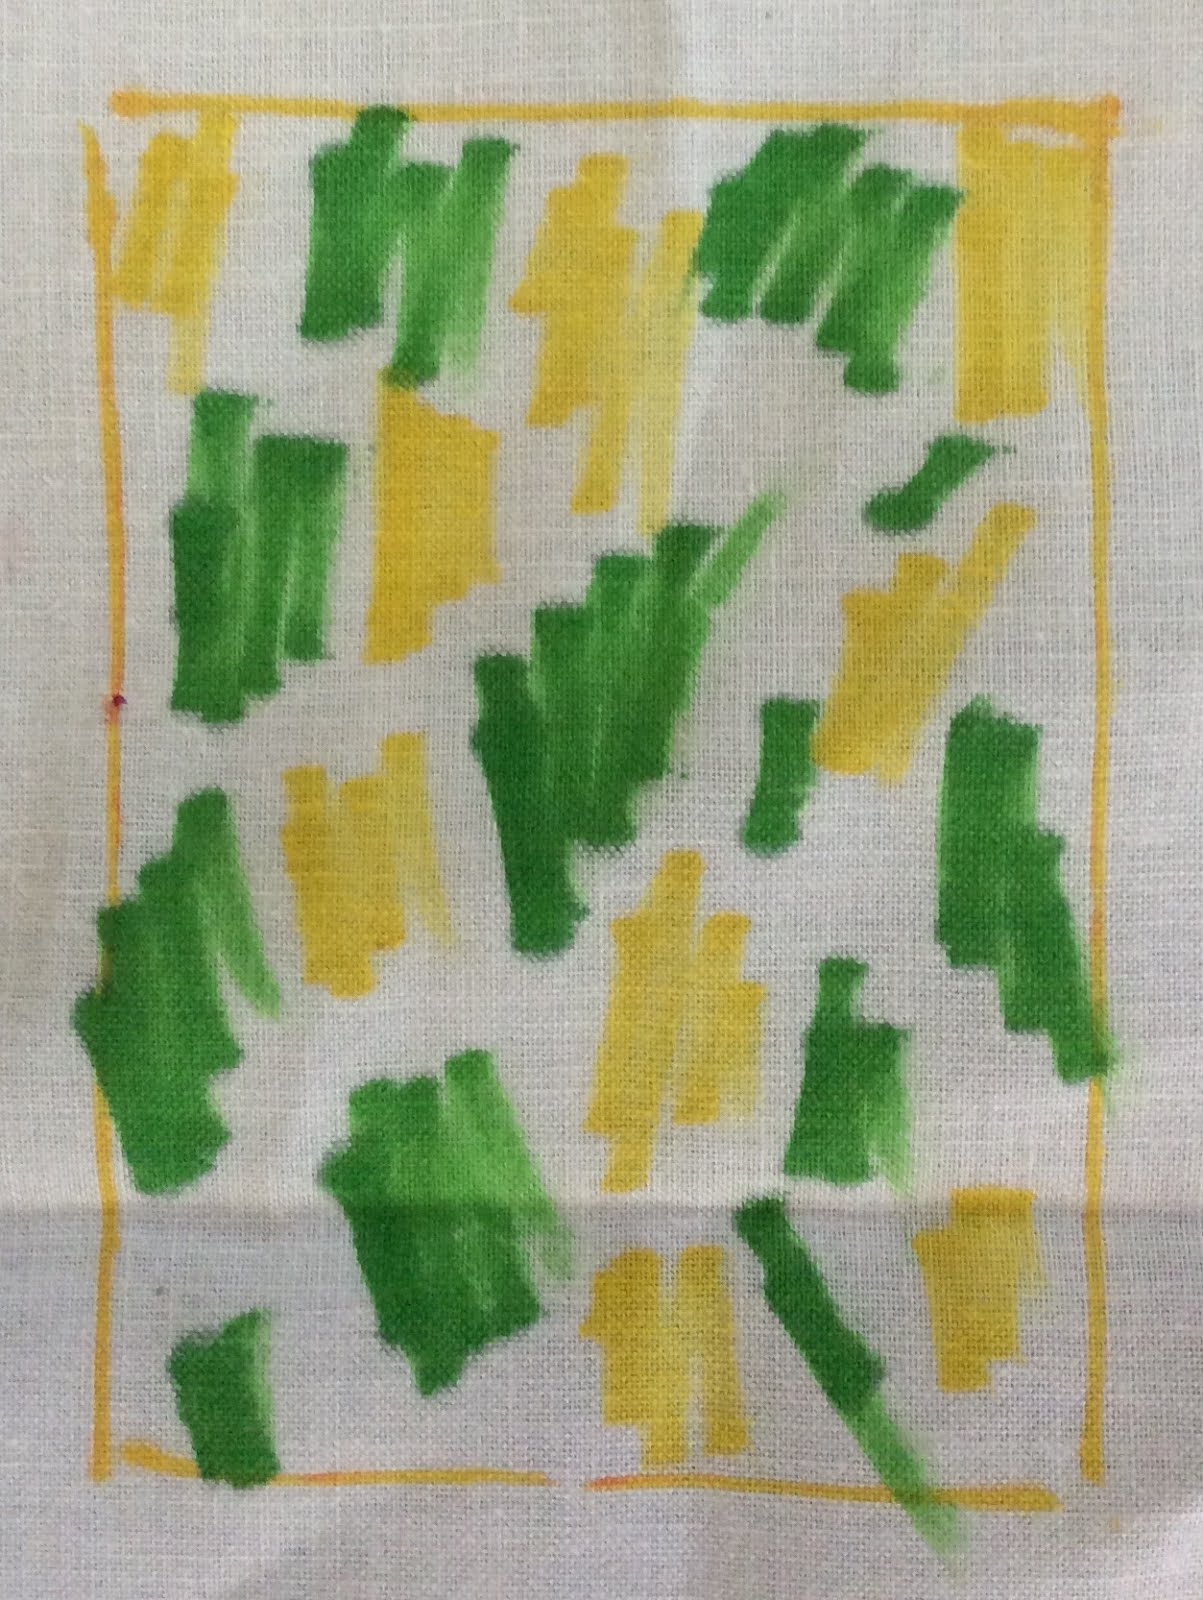
I decided Sharpies would be the best medium to replicate Jenny's work in a student-friendly way.  I started by placing some random Sharpie marks on fabric. 


I used rubbing alcohol to bleed the sharpie on my fabric. For the random marks, I used cotton balls soaked in rubbing alcohol and dabbed the area.  


I did a heat-set on all the fabrics with an iron. These fabric swatches were mounted in two ways.  With some of the fabric, I wrapped them around cardboard with hot glue. 


I ironed quilt batting on some of the swatches. This allowed me to sew on these little masterworks.

I added more Sharpie marks on some of the little art pieces.  I also added some stiching by hand, and some with a sewing machine.  Even some beads were added for embellishments.


Tomorrow is a great day for Sharpie Art.  Kathy Barbro, Blogger of Art Projects for Kids, has a new book Called Sharpie Art Workshop for Kids. In fact, she is giving away one of these amazing books on Facebook.  Be sure to click here and sign up to win.  I was honored to be a part of this book.  The metal bug below is one of the lessons offered in this new book.  I created the lesson for this book... and tomorrow it is finally coming out!  How exciting! 


Other lessons you will find in the new Sharpie Book are by bloggers of Mary Making, Teach Kids Art, Babble Dabble Do,  and The Artist Woman.  This book is actually a collaboration between many art teachers, artist, and bloggers. Be sure to check out the book.

Monday, November 7, 2016

3 Ways to Create Trolls


I went to the movie Trolls this weekend and fell in love with this subject.  Because I teach elementary, I know my 'clientele' will approve of our new lessons they are about to embark on.  I have decided to create 3 different versions highlighting the same subject... TROLLS.  I'm so excited to share these with you.

First, let me share the trailer for this sweet film.  Even if your students haven't watched yet... They can get a feel for the characters.  


For all three lessons, I would start with this simple lesson of how to draw a troll.  My plan is to allow students to be inspired by the DreamWorks Characters, but they have to change something to make it their own.  


The above is the same for all the classes... They will draw the troll head without the hair... The hair is what changes the 'Art Process' to fit my curriculum.


I have had Gelli plates in my art room for about two years, but to tell you the truth... have only used them a few times.  I want to make efforts to really dive into this process so I thought I would flip a lesson on it. Making the Printing video separate from the product allows me to use the video with any lesson that I create. It is teaching the skill rather than the project.


I did create a project video to share as well. 


Texture paper is something that I like to cover with my students at some point of their art career.  There are so many ways to create texture on paper and a collection of prepared paper is very valuable for collage work.


Again, the skill video is separate from the project lesson.  Here is the project lesson with the textured paper. 


This wet felting project was very much inspired by the Art of Education, Fibers Studio Class that I am taking currently.  I'm loving this class and I learned some great tips on wet felting.  


And the creation of the project... 


I couldn't stop myself.  I had to stick a fibers lesson in with this one because let me tell you... There was a lot of fibers inspiration in the movie.  The whole thing was animated to look like felting, wool, yarn, and stitching.  It was adorable!! 

This post was a little longer than I usually make my blog posts but I wanted to share all three ways to create trolls in your classroom today!  Please share your trolls that you and your students create on Instagram and be sure to tag @MiniMatisseArt