

I started this lesson many weeks ago in preparation for the upcoming 2018 Olympics. One of the district standards for 2nd grade is learning the 'rules' of the human figure. I thought this would fit perfectly into a lesson featuring the Winter Olympics. I'm excited to share all the details including full slideshow at the bottom of this post as well as a free, students-friendly lesson on how to print a collagraph.


We practiced this skill with paper and played a game with the figures. I asked my students to make their figure do a pose and then they would have to mimic it. They loved this game.


I had previously asked parents to send in cardboard. I requested thin cardboard such as packaging or cereal boxes. It only took a couple days to get what we needed for this portion of our artwork. The students repeated the activities of last class but this time with the more challenging cardboard. They glued the pieces onto a precut piece of cardboard and we really focused on holding the shapes down to get a really good adhesion between the base and the shapes applied.


Class three... we printed. This was a BLAST for both my students and myself. I loved the excitement in the room and the collagraphs in action. I gave each student two sheets of paper to print on. First, the students wrote their name on the two pages. Then they printed at their tables using a brayer and black printing ink. They placed their page on the drying rack and repeated the action on the next page. Most students were able to get 4-6 prints during the hour and still have time for clean up.


Then students chose their favorite figure that they printed. They bubble cut around the figure and glued it to the background. They then added the 'extras' such as skates, or skies or a snowboard. Then, if there was time, trees, fans, some added snowflakes. We talked about making this composition simplistic but giving the viewer enough information to allow them to understand the sport being played.

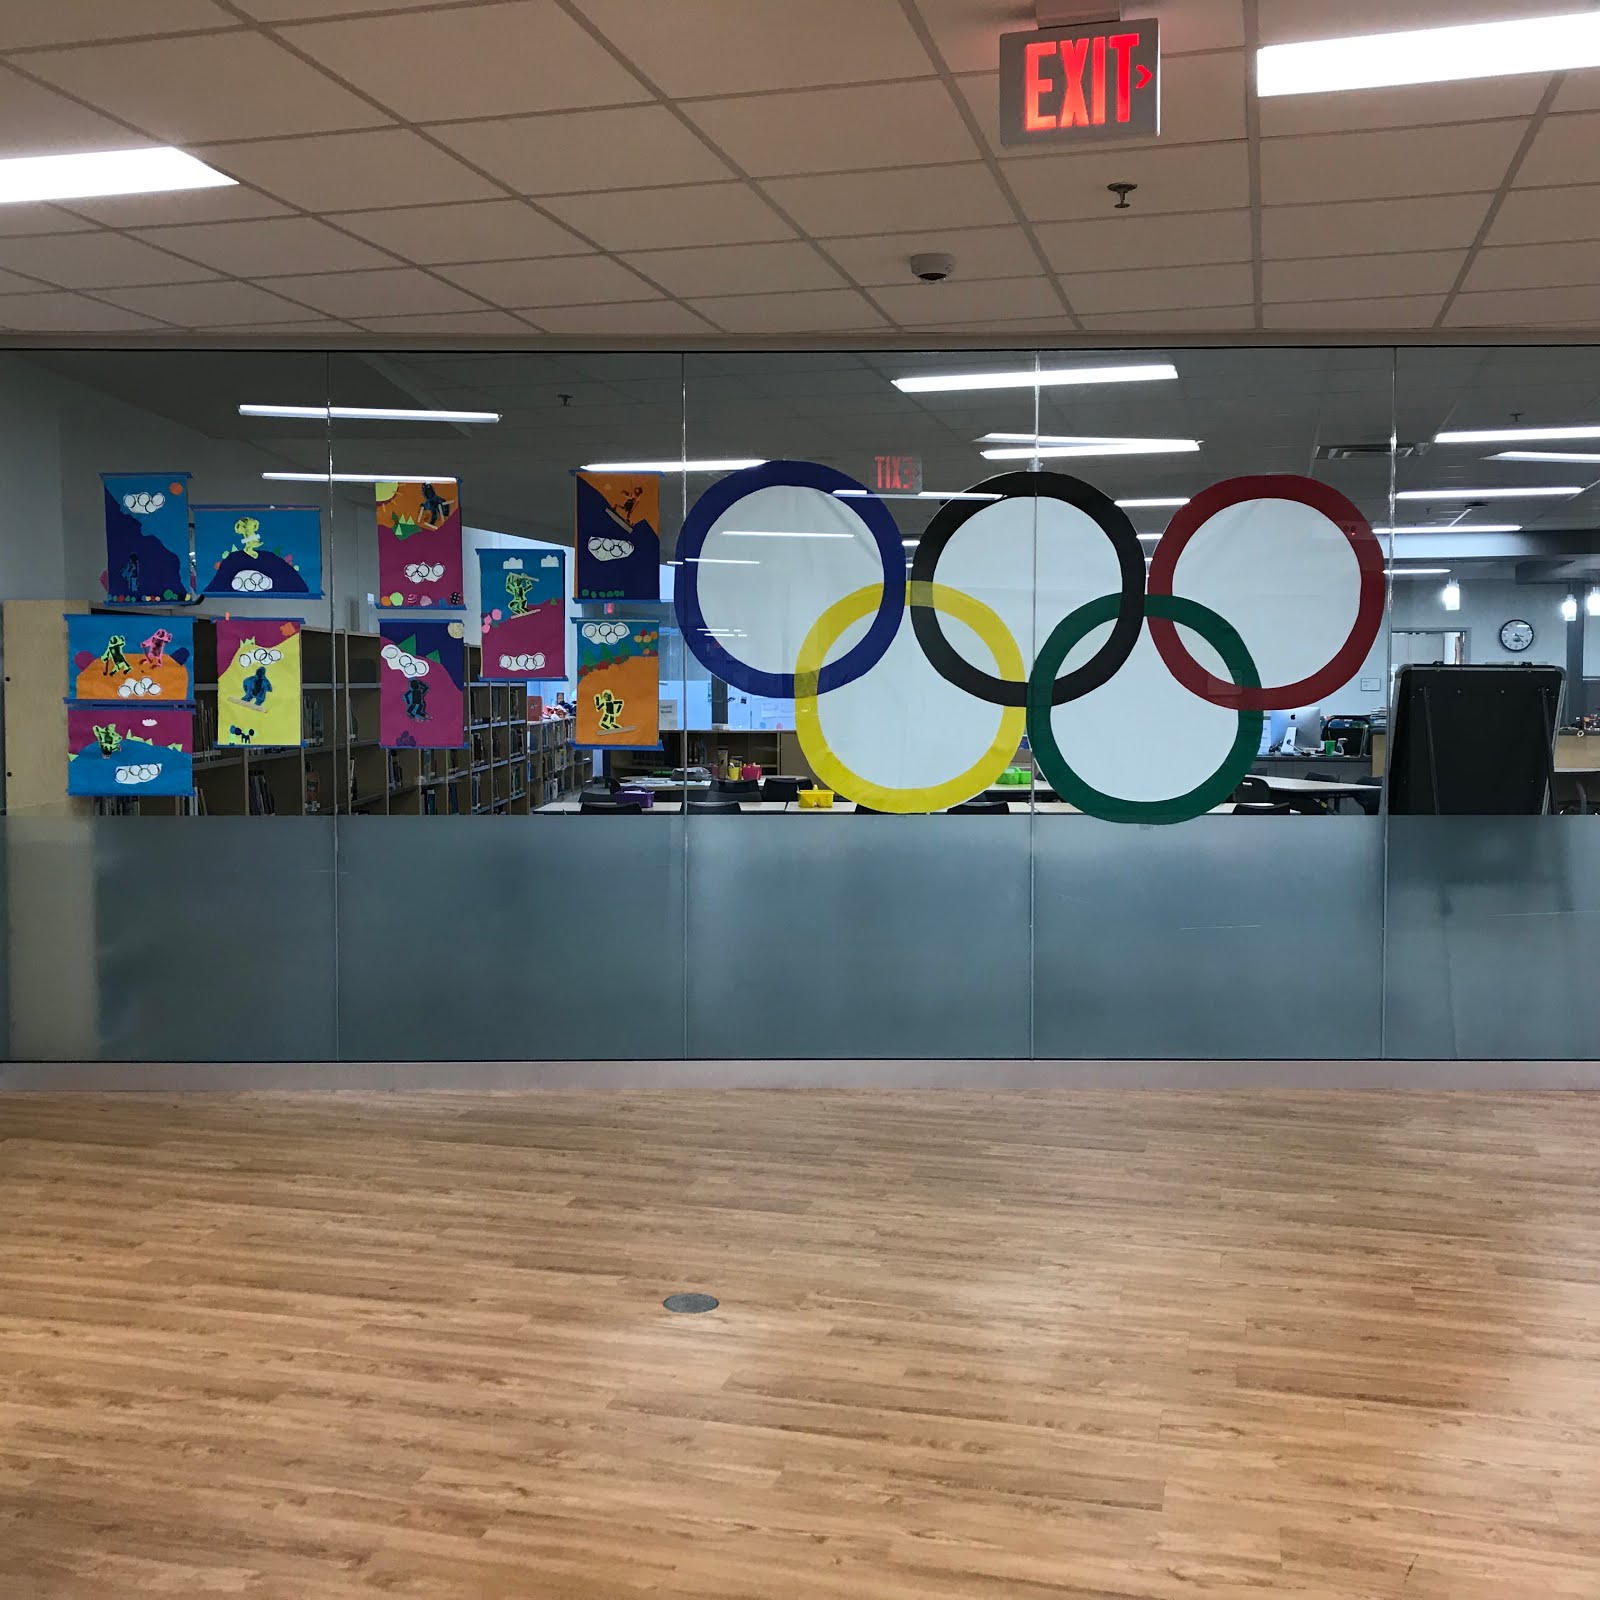
The projects are now hanging with all the 'I Love to Read' month activities that are going on for the month of February at Prairie View Elementary and Middle School. This was perfect timing for the theme for the Media Center school-wide celebration.
Full lesson slideshow below including a FREE lesson on printing the collagraphs! This slide show has many images and video links to support this lesson including how to print a collagraph.
These look great! I love the printmaking aspect with the figures - this is a combo I’d like to try.
ReplyDeleteWonderful lesson, I am doing Olympic figures with grade 3 for an evaluation lesson plan. Thanks for the TPT post and sharing your work.
ReplyDelete