

Last year my 4th-grade students had a lot of fun becoming illustrators for their last project. I wanted to share the video lesson along with the so many tips, tricks, and project samples in this post.
I have always been impressed with Illustrators! I have found inspiration by looking at books, posters, and magazines... but nowadays, I used social media to find my inspiration. I wanted to create a lesson that would allow my students to become an Illustrator by creating a character of their own.

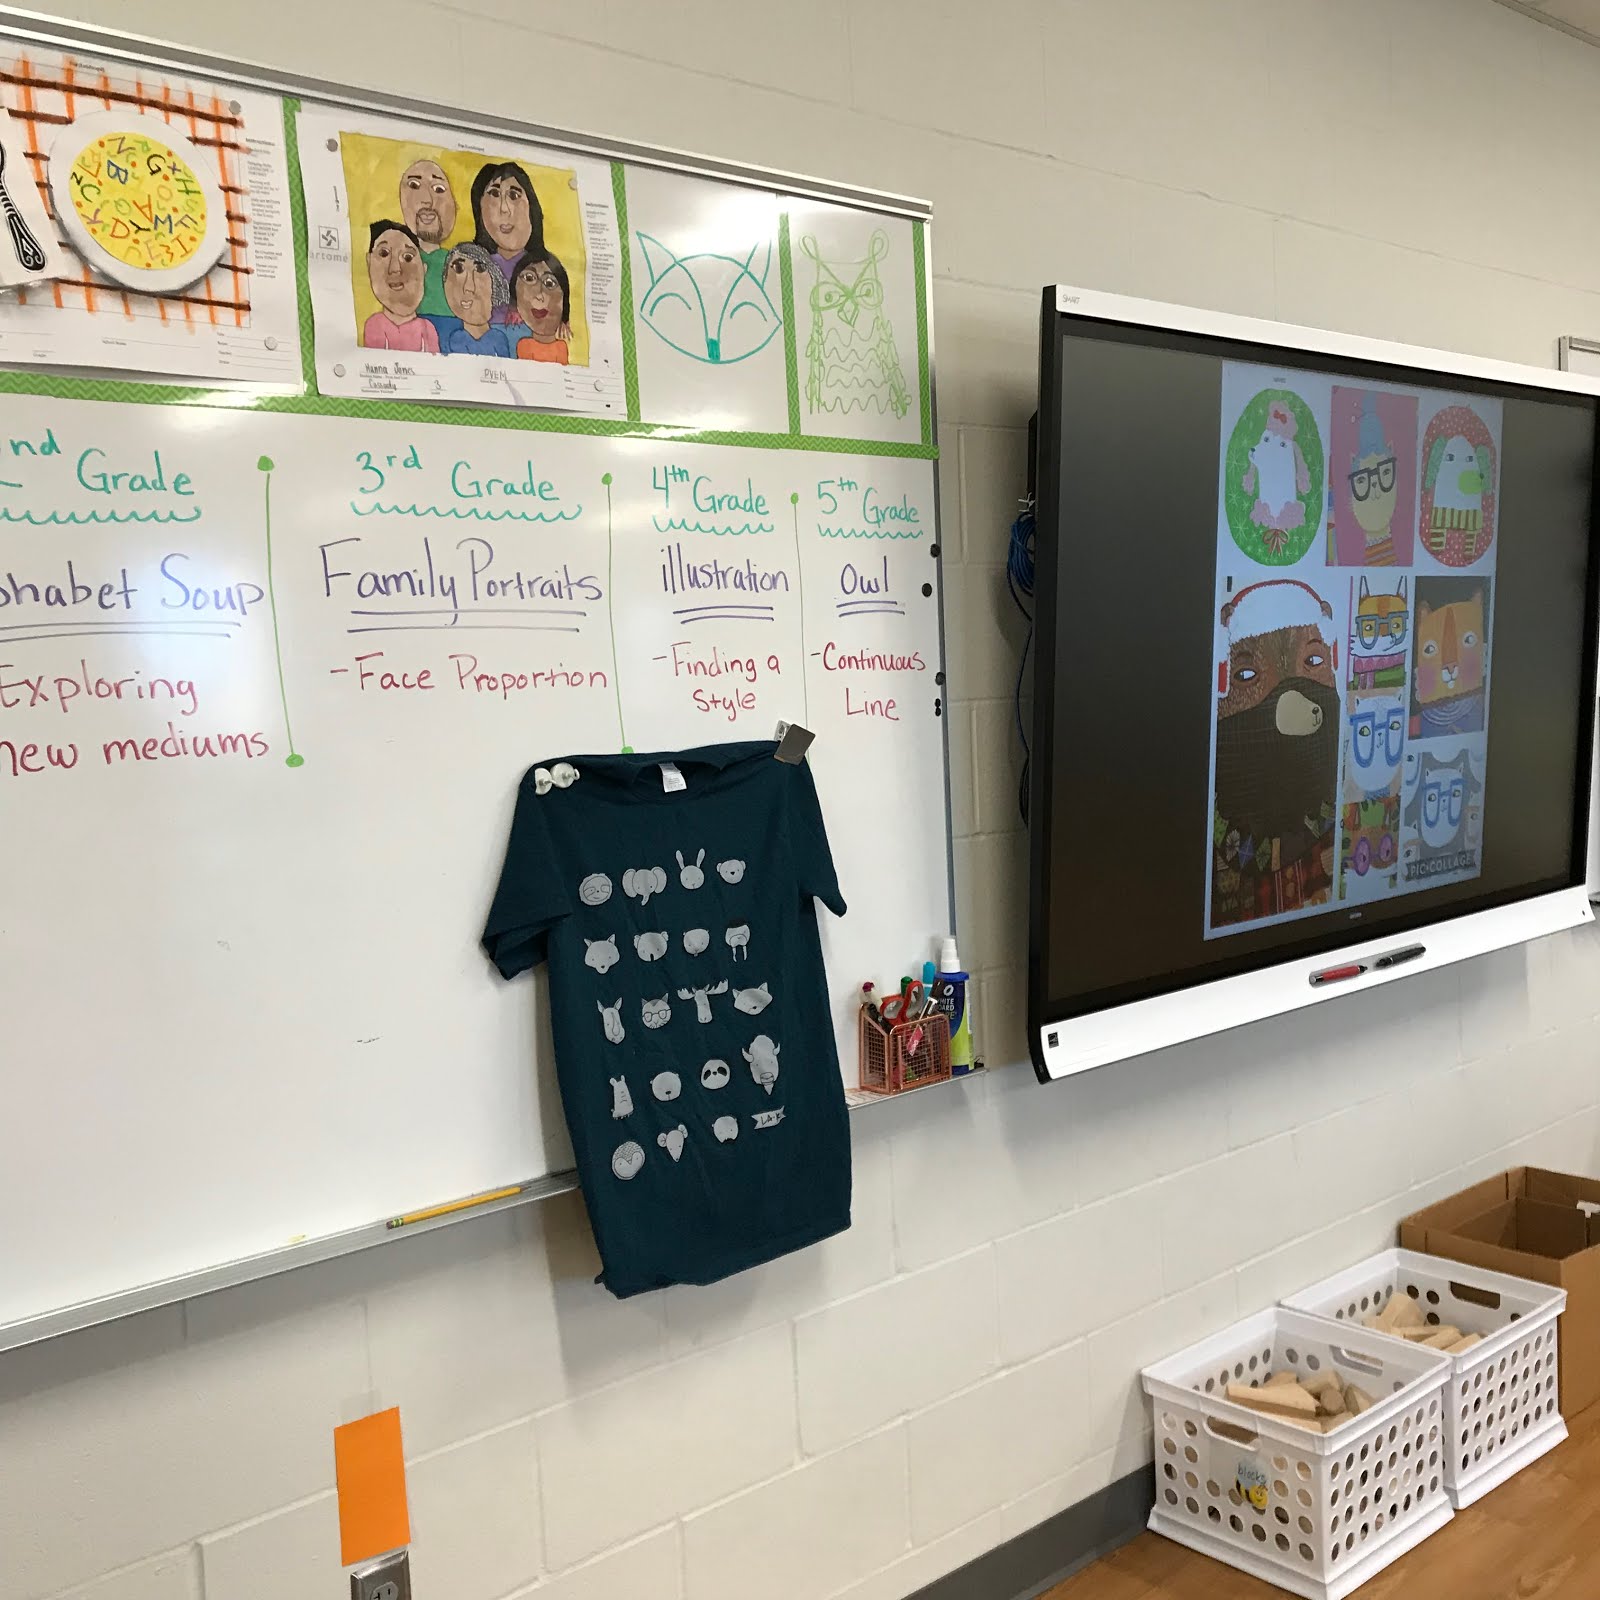
We first looked at inspiration. While in Seattle for the NAEA 2018 conference, my buddy and I went into a store called Sloth vs Robot. It was filled with the Artwork and products from local Artist to Seattle. I adored it and bought several products from the shop to bring home to my kids. One of the items was a t-shirt featuring the Artist Lauren Rudeck or La Ru as she signs her work. This T-shirt put this lesson plan into action!
Then I saw the work of Lauren Minco Lowen on Instagram. She is represented by a group called Jennifer Nelson's Artist. You want to find some fun inspiration... start there. Anyway, Laurens work was perfect for the direction I was going to take this lesson. She creates characters with lots of personality, expression, color, and texture. Everything I wanted my young artist to bring into their own work. Read about how Lauren responded on this link after July 22nd.

I started by asking my students to brainstorm an idea for their character. I suggested that the character had to be an animal. I only gave them 10-12 minutes to do this in. That allowed for my students to have enough time to get one drawing on their paper and for some... it was many character ideas. I emphasized simplicity and texture. At the end of the brainstorm, they were allowed to go around and ask their friends, "What would you vote for?" Many students used this peer critique to guide them to make a decision. Once they had the idea solidified I explained that they would be creating this same character over and over using the same shape. They also were to come up with different expressions and different 'extras'. I explained the extras to be a tie, scarf, hat... something that will make each character unique. With the remaining time, the students continued to sketch in their sketchbooks.

The next class, I gave each of the students a rectangle piece of paper that was 1/4 of the sized of their page. I explained that they were to draw and cut the tracer into a shape that would be cutting the least of paper off. I wanted the largest shape they could make... I showed them examples as well. This became the outline of the character space. Then they took the same tracer paper and drew the shape of their head for their character they then traced a head shape in each of their shapes. The next step was to give each of their characters expression and extras. For most students, this took up the whole hour.


In the final day, students were able to outline and color their characters. They then cut the shape out and laid out their composition. Once they had a good composition, they glued them on tight.


I used this work of art for Prairie View Elementary's Art Show through Artomè.


No comments:
Post a Comment