
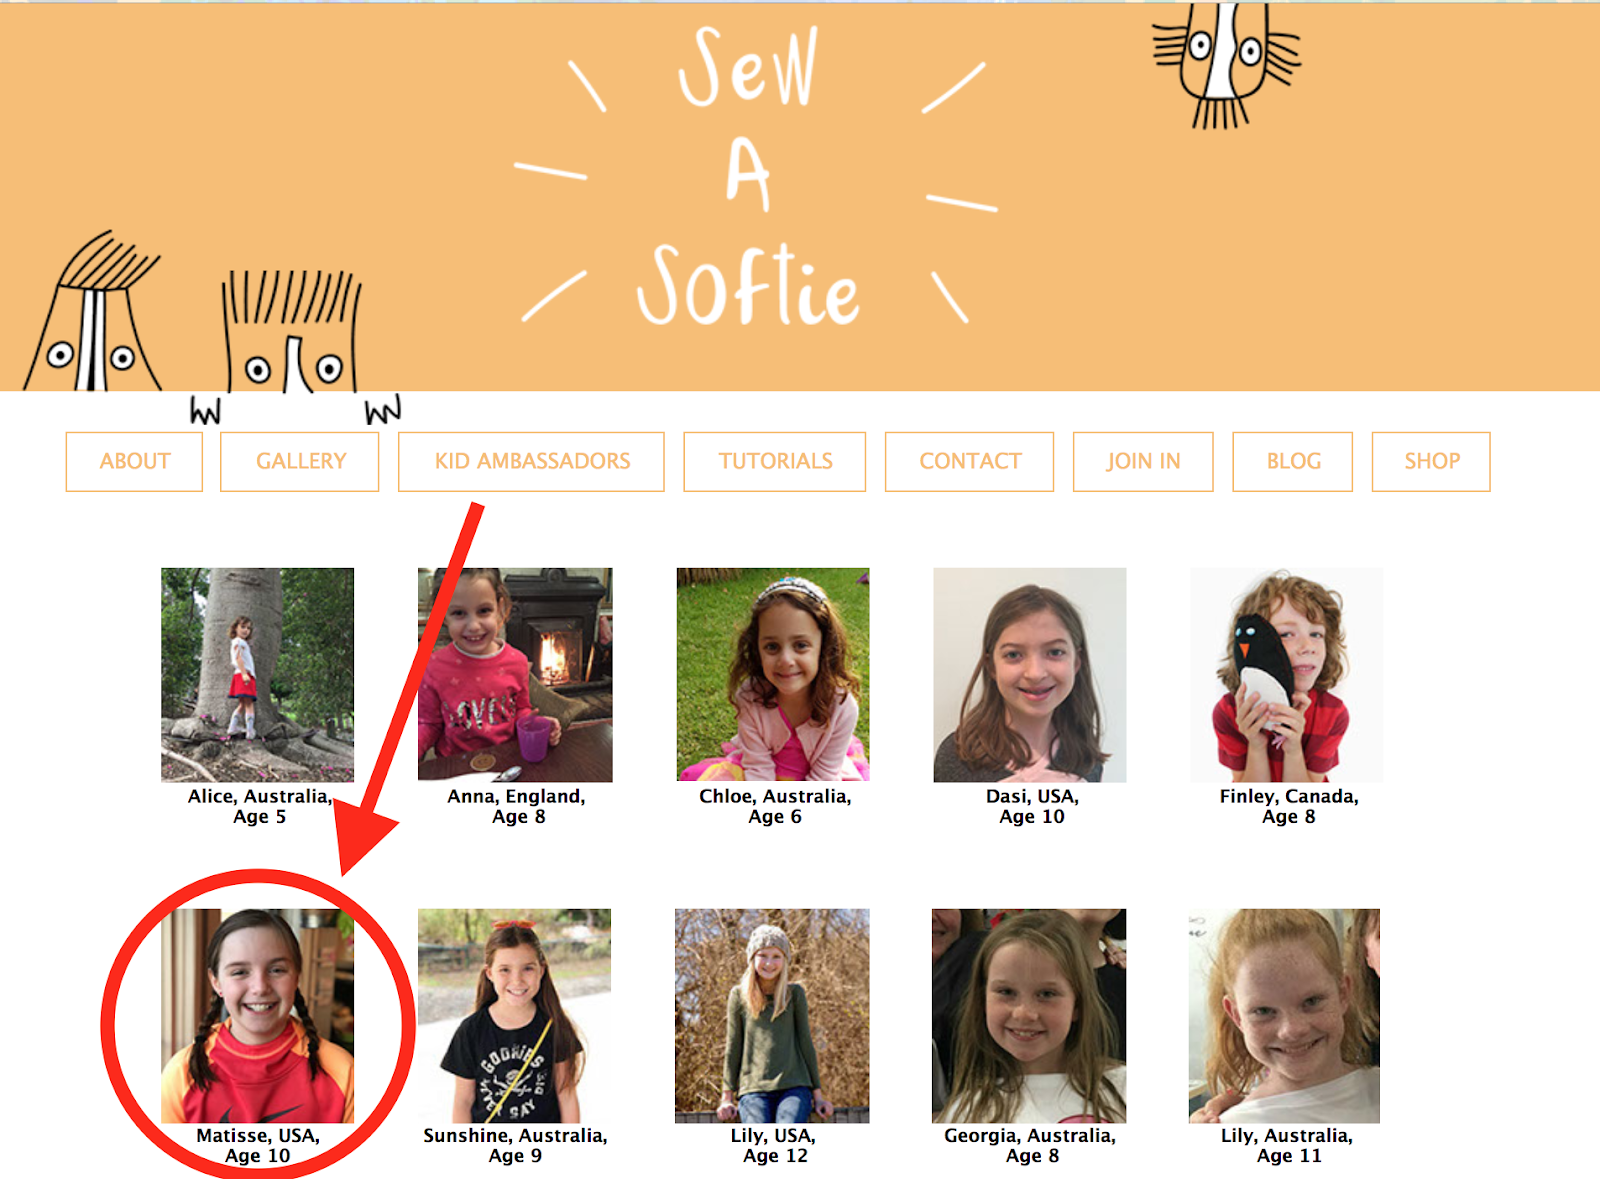
Last year I did a little project with a sewing group called #SewASoftie (click here for previous posts about stuffed fish and stuffed owls). We had a fun time working on this project and we decided to do it again. My daughter, Matisse, is going to lead the lesson this year. She is a Kid Ambassador for the group.
 We talked about a lot of #SewASoftie projects but she settled on creating a project inspired by my sweet friend Erica. We took a road trip as a family last year and Erica (a college friend) was one of our stops. She is a working Artist and my daughter knows the value of being inspired by contemporary Artist. Matisse was gifted a sweet, stuffed rat on our trip. Erica calls it a Winky Rat and it's her original pattern. She sells them and posts about this Rat and other cute stuffed animals on her Instagram account, Honeymoon Pie.
Here is how we made our inspired Winky Rat Finger Puppet. We are sharing our Winky Rat Finger Puppet Pattern on Teachers Pay Teacher for free (Click Here).

1) Cut the Winky Rat Pattern out of a piece of Felt. You see the body here, but you should also cut a second piece of felt for the ears, not shown in the picture). You can draw the indicated notches on the back side of the felt and cut them out as well. Matisse found that folding the felt, and putting her fabric all the way to into an open scissors worked best for her to make the cut.

2) To create the clothes on the rat, you will use a 5 by 5 inch piece of fabric. Place the right sides together as shown. Sew a straight line under the chin of the rat, as shown.
3) Press the fabric down on the rat's body. You can press this fold with an iron or simply finger press and use pins to hold it in place.
4) Pull the fabric around the body to the back as shown in picture 4.
5) Stitch two lines on either side of the body to help hold the fabric in place
3) Press the fabric down on the rat's body. You can press this fold with an iron or simply finger press and use pins to hold it in place.
4) Pull the fabric around the body to the back as shown in picture 4.
5) Stitch two lines on either side of the body to help hold the fabric in place

6) Cut the clothing fabric below the base of the rat about a 1/2 inch below.
7) Fold the bottom of the fabric up to the back side.
8) Stitch the bottom fold to keep it secure.
9) Clean up any little strings left on the rat.

Matisse always loves to use the sewing machine. Adding the 'clothes' on the rat gave her an opportunity to use the machine and iron on this little project.

10) Now we move onto sewing the Winky Rats signature... the eyes. Our inspiration Rat has one eye open, usually a button, and one eye closed, usually stitched. Be sure to stay away from the ear holes as you stitch.

11) After the eyes are secure, you will fold the rat up and sew a whip stitch around the edge of the rat.
12) Stich all around the rat... the clothes, chin, nose and the top of the head.
13) Poke the ear fabric through the ear holds. You will have some gathering in the middle where the hole is.
14) Pin the ears up and add some 'locking stitches' in the base of the ear to secure it.

It's great to use a sewing machine, but it's always wonderful to hand stitch. It gives any sewing project a little more personality.

Matisse taught her brother how to make a Winky Rat too. It was fun to see the difference in the fabric, color choices, and thread choices. Sawyer, Matisse's brother, sewed a nose on his and also added some whip stitching on the bottom of the Winky Rat Clothes. I made the yellow Winky Rat and added some whiskers.

Matisse thinks her mini Winky Rat Finger Puppet is so cute, she had to take some pictures of it on her iPod. That is when you know they are excited about their project... right??

We want to thank Trixi Symonds for hosting #SewASoftie again this year and inviting Matisse to join as a sewing ambassador. Keep following #SewASoftie on social media and specifically on Colour Button's Facebook Page. There is at least one new post every day in the month of July... Lot's of inspiration.
What a super cute idea to make finger puppets! That's a perfect sort of project for kids to make themselves! :) Lisa
ReplyDelete