

Recently I moved into my new/old classroom. I left for a year to go to another school and now I'm back. I am working on redeveloping my classroom. One of the first things to go were the color table indicators hanging in my classroom. I bought them years ago from a party store... you know the kind... the honeycomb tissue decorations? Anyway, they were lovely and worked well, but now it's 5 years later and they are faded and full of dust... well, they had a good run but they had to go.


I wanted something new, something quick, and something cheap. I was inspired by the Dollar Tree! I bought the nine floral foam wreaths for my tables and walked out with not much of a clue what to do with them. That is when I ran across my inspiration on the Gelli Plate Website. I love it!! If you haven't spent time exploring their website, it's worth an hour (or hours) of your time.

Refer to my requirements... something new- check, something cheap- check, and something quick-no... if I created the Gelli Printed Paper, it would have taken a long, long time (but would have been fun, don't get me wrong). I compromised with my crazy HUGE supply of scrapbook paper (I mean sickly, huge... lots of paper... lots). So... I started by separating the paper into color groups. Not a pretty picture, but certainly part of the process.

I created a template and started cutting... and cutting, and cutting. I created these little piles of color groups. I tried to make them random by dealing them out like playing cards and then putting them back together in a pile of 'like colors'. I would say I cut about 100 leaves for each wreath.

Then I gathered the rest of the supplies. The glue gun, hot glue sticks, paper clips, and string (they come in a little later.

Before starting a wreath, I brought each leaf through my two fingers to create a curve to the paper.

Then I started gluing. You can see from the picture below, I started with the outside of the wreath and then moved to the inside. Adding a second layer to both the inside and outside was helpful. Then, on the top... I filled in with leaves going in different directions and creating a ton of overlap.

I created the primary colors (red, yellow, blue), the Secondary colors, (orange, purple, and green), then two neutrals (black and white, and earth tones) and one pink (because I like it). You can see that I was intentional of the colors that I chose to also continuously reinforce my curriculum with even the decorations in my classroom.

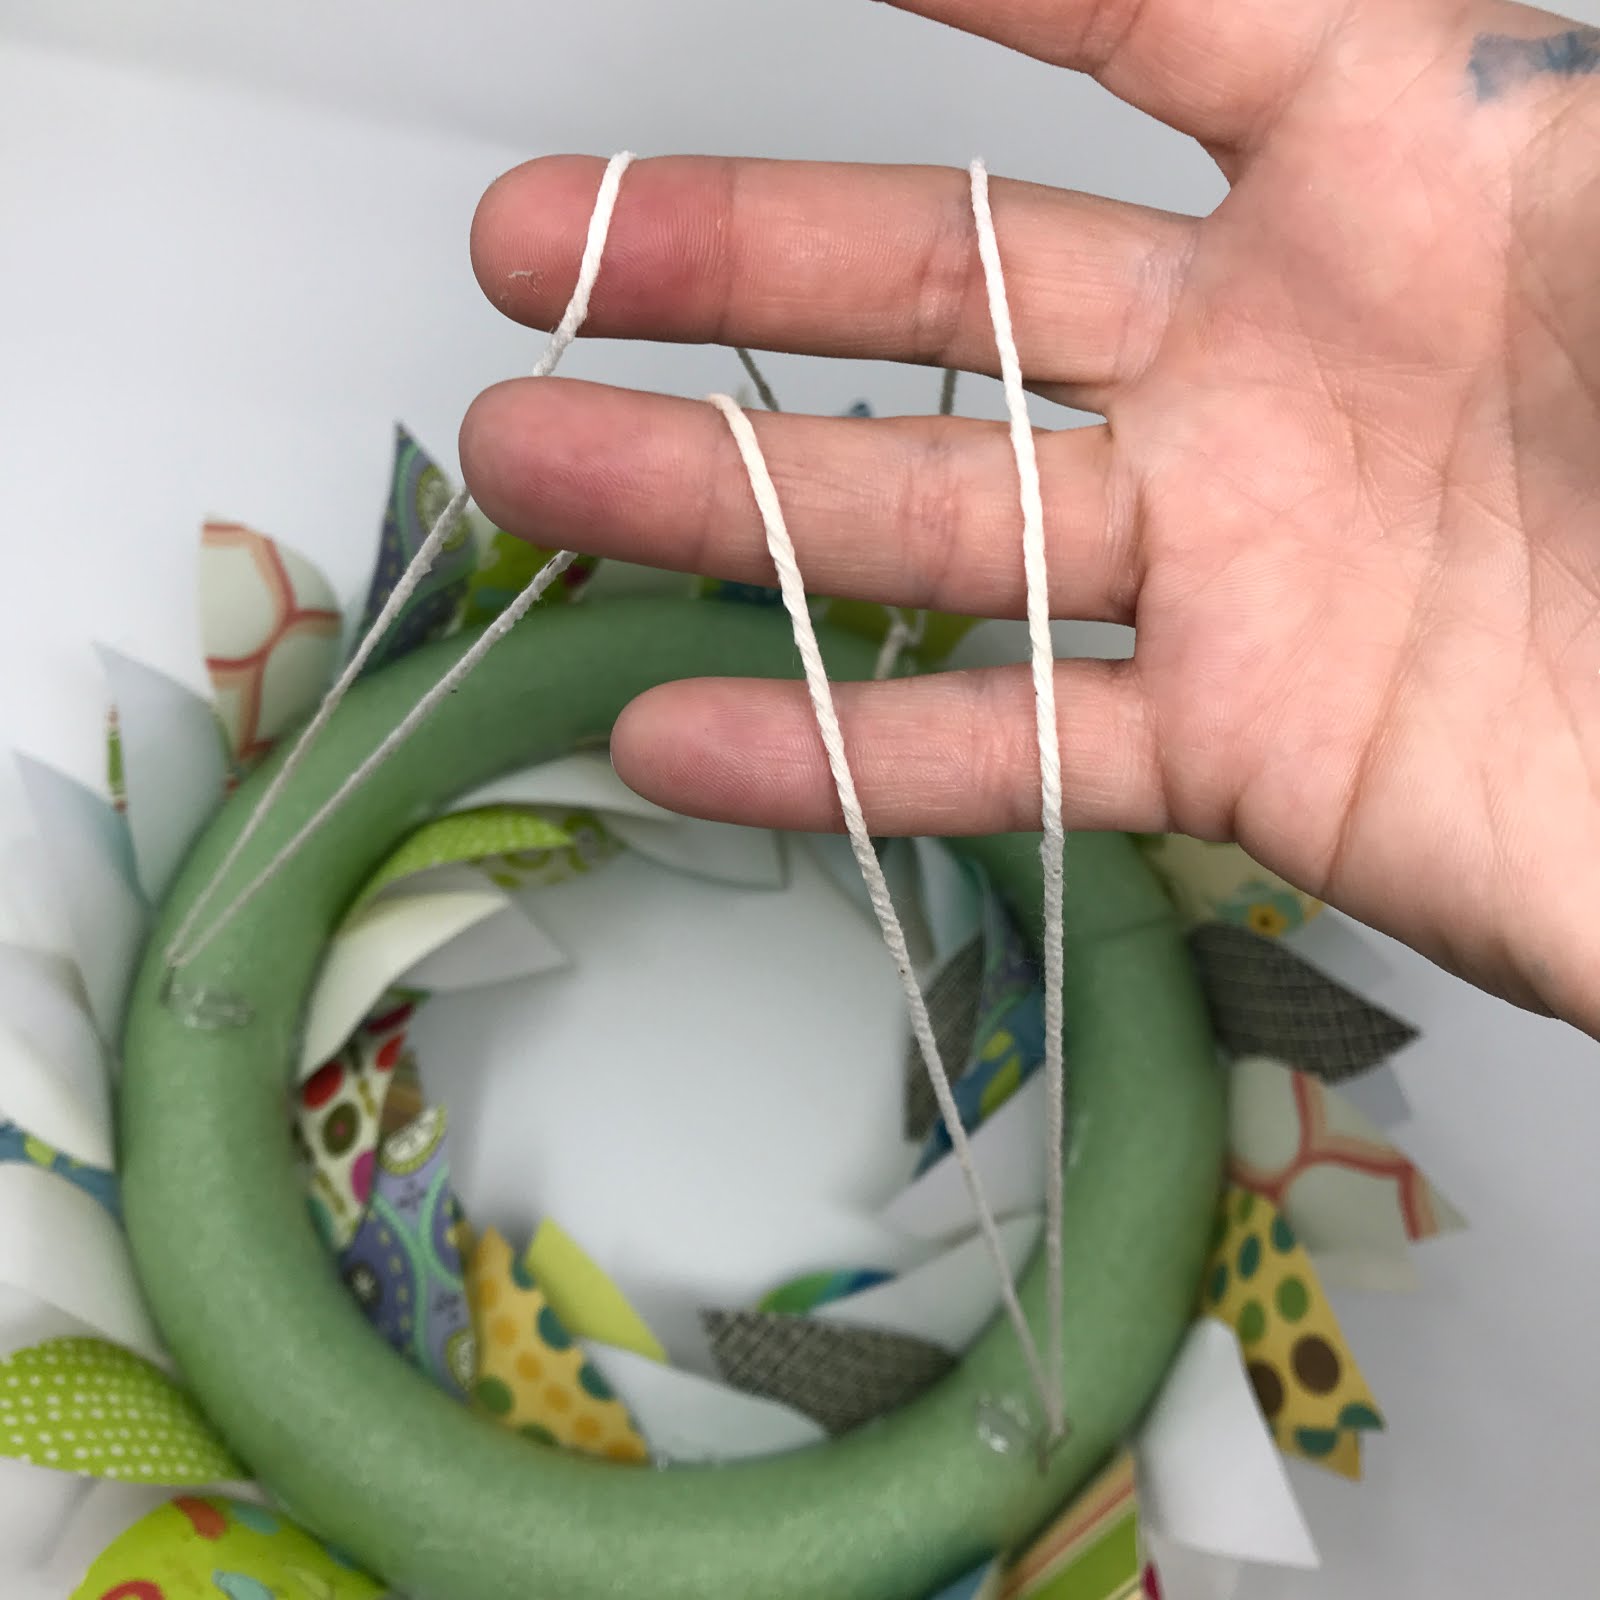
How did I get these wreaths to hang?? I'm glad you asked. Again, I was working on a shoestring budget so I used paper clips as my hangers. By bending them as you see below, I glued three clips to the 'bottom' or once hanging, top, of the wreath.


Strings were measured out so they were consistent. I ran the string through the clips.

I was able to level the wreath out with the string and added a small not on the top to keep the three points together.

Then... I repeated... nine times.

The wreaths are hung and the kids noted the change every hour since I have placed them in class. Because these little crafts were made and not bought, there is a little extra sense of pride. My students wanted to know how... I told them I would be posting. I know some kid, and their parent will create one of these for themselves. If so, share a picture and let me celebrate with you!

Share how you used this idea.
Twitter: @MiniMatisse
Instagram: @MiniMatisseArt
Email: NicholeCHahn@yahoo.com


No comments:
Post a Comment