

I read on Cassie Stephens blog that there was going to be a softie share hosted by Trixi Symonds I was interested right away, so I visited Sew a Softie website and join this celebration of fibers!! I had so much fun I will actually have two posts on Softies, but here's my first one... Owl Softies. OTAH!!
What? You don't know what OTAH means?? You're going to have to take a break to check out this short clip by Jimmy Fallon #MomQuotes
Oh, that was a Hoot!! The funny thing is, I use the word 'hoot' more than the average Minnesotan I think. Either way, We had a HOOT developing and making these cute little owl softies and can't wait to share them with you! Here is the overview of how to make an owl softie.
Let me break it down just a bit more. We started by cutting two tear drop white pieces of fabric. We used permanent markers to create the design for our birds. One of the owls shown above we left the design alone. With the others, we used rubbing alcohol to bleed the marker and give it more of a tie-dye look. I showed applying the rubbing alcohol with a cotton ball in the video but we experimented using a spray bottle with rubbing alcohol in it was another successful way to bleed the marker.

While we let the damp fabric dry in the sun, we took the time to gather two felt circles and two buttons. We did some hand sewing to connect the button to the circles.


The rubbing alcohol had not totally dried out of the fabric yet so we used a hair dryer to speed up the process. Next step, we cut the tear drop fabric that has the belly design on it as shown below.

Then the fabric was lined up again right sides together. A quick stitch around the edge with a sewing machine made this step really fast, but hand sewing would be just as successful! Once the sewing was finished. We turned it inside-out (or actually, in this case, outside-in).


We stuffed the bottom portion of the fabric with batting.

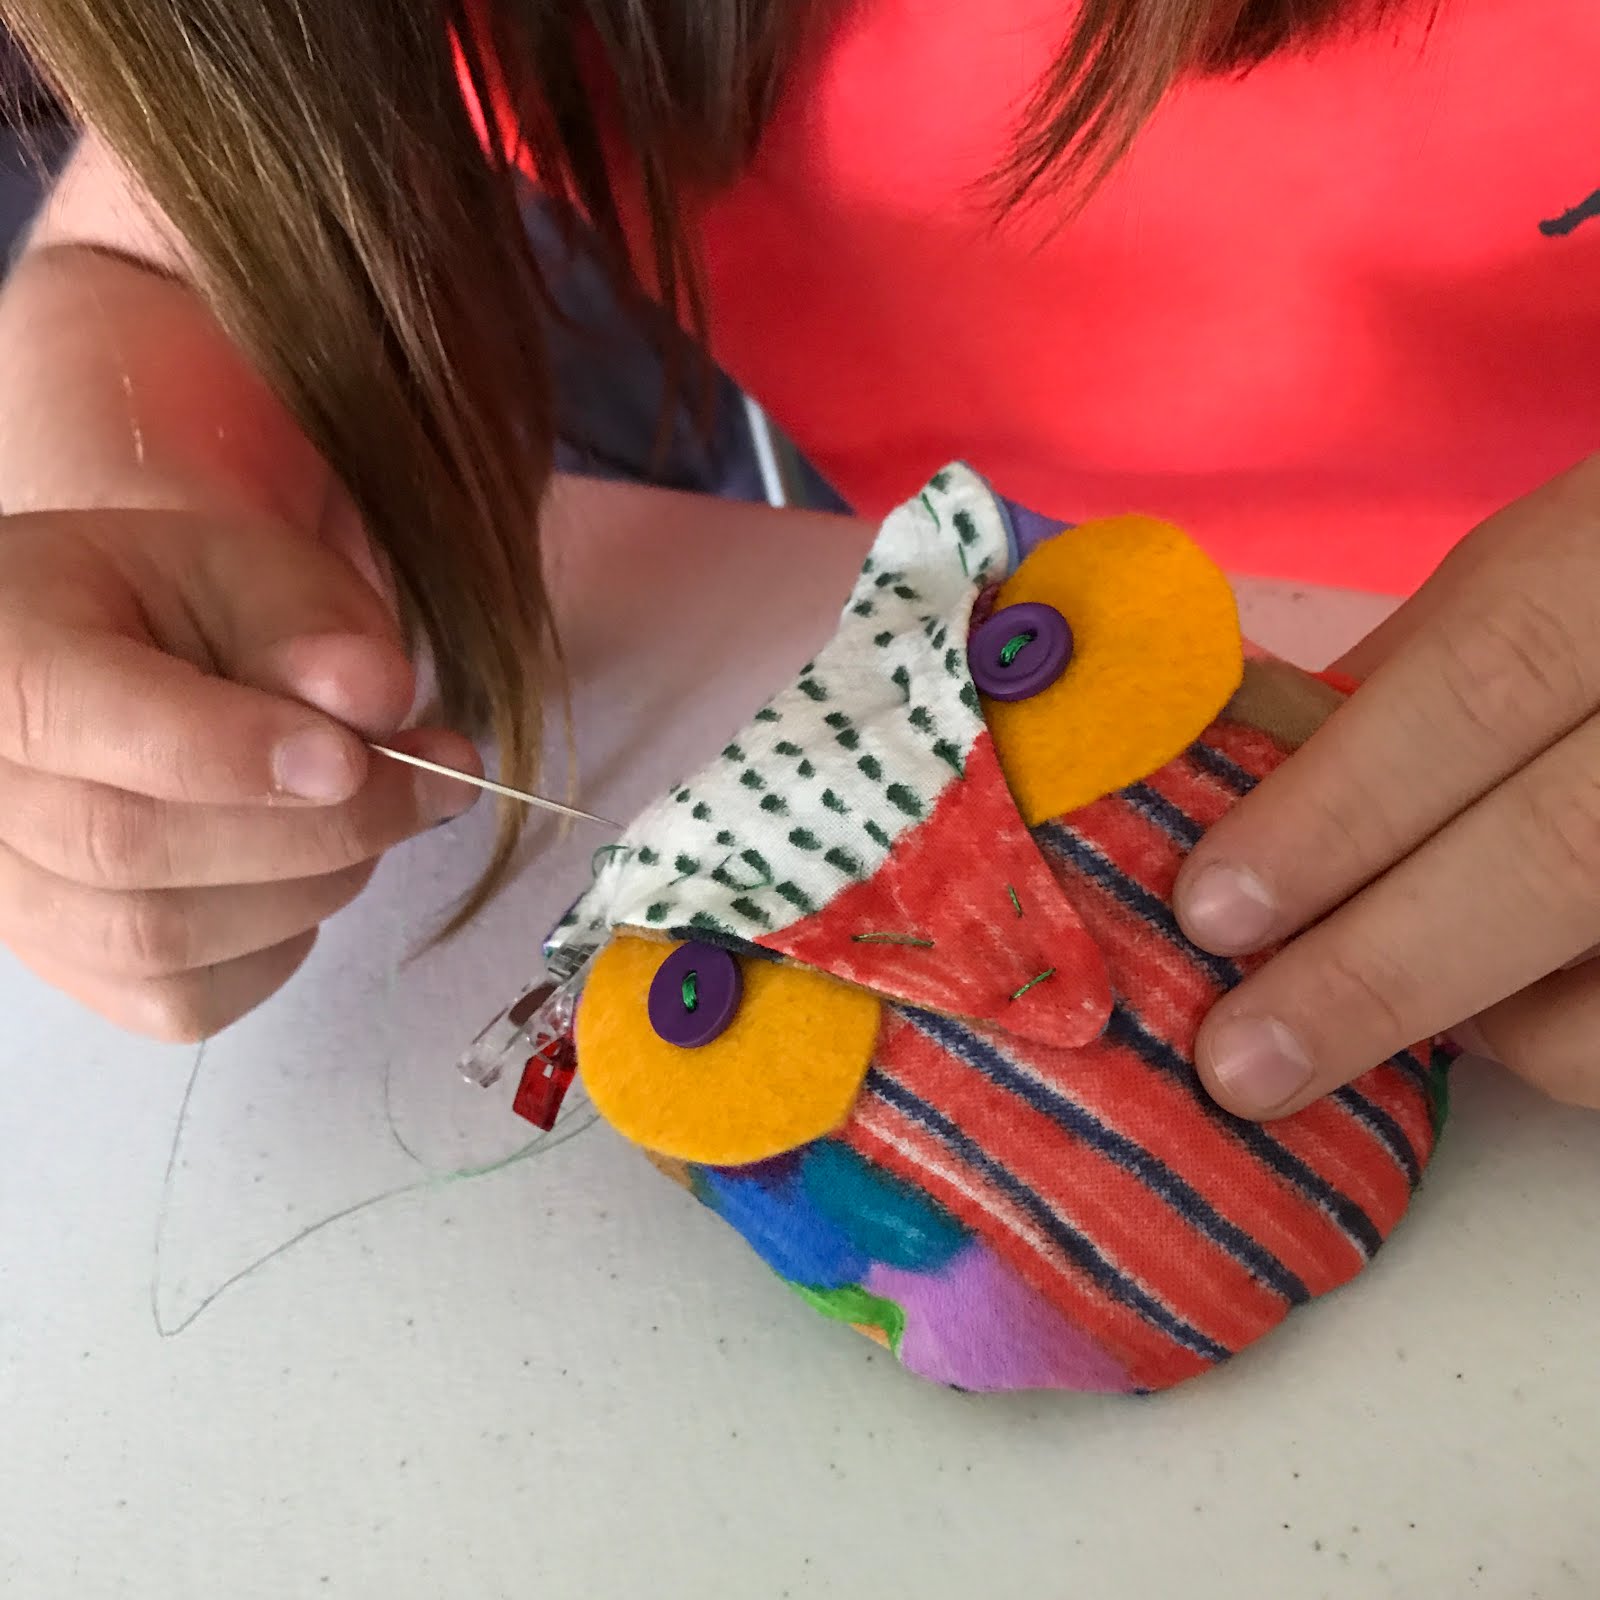
In the video, my daughter shows her way to pin the eyes and beak in place. I use both clips and pins to start my hand sewing to secure the beak.

We used hand stitching around the 'triangle' of the beak. This allowed the stuffing opening to be closed, the eyes to be secured, and the beak to be set in place. This was a bit of a challenge for my 3rd and 4th-grade participants, but nothing they couldn't handle.
These softies were a HOOT for sure! Please share any softies you make inspired by this or any of the other post from this awesome softie celebration with me on Instagram @MiniMatisseArt, or Twitter @MiniMatisse. Be sure to tag them #SewaSoftie. Check out all of the other posts by visiting our Padlet titled 'Sew a Softie'.

Proud Artist!! Thanks for the inspiration #SewaSoftie project.

If you want to make an Owl Softie and would like a pattern, please visit my TpT store for a free download (click here).

Wow! What a sweet owl! I love the simplicity of the design and how you patterned the fabric with markers and rubbing alcohol. The girls did an amazing job. It would be great to see what you 3rd and 4th graders did too :). Pinned your post to a few of my boards. Thanks for joining in and being part of Sew a Softie!
ReplyDeleteLove this tutorial Nic. Decorating the fabric with markers is a great idea - wish I'd thought of that ;-)
ReplyDeleteThe Jimmy Fallon clip was a real 'Hoot!' - had a good laugh, thanks for including it =D