I was inspired by a post I saw on Instagram by Alison Gerke (@ghouseart) showing some very sweet frogs by her Kindergarten. That sparked this lesson for me...
Day 1: Students practiced drawing frogs. First on whiteboards and then on their watercolor paper. It's important to have a high quality paper for this lesson... Watercolor paper or Mixed Medium paper works best. I have a FREE step-by-step resource page on my TPT page.
Day 2: Students first colored their background with crayons. This included the sky, water, and lily pad. We talked about craftsmanship quite a bit. Students were instructed to do a peer assessment getting 3 people to say 'no white-spots' before considering themselves finished.
Student then used two 'juicy' markers to add two colors of spots all over the frog. The more dots the better!! We briefly talked about color theory and the color wheel using colors that are 'neighbors' to each other.
Then students used water to blend the spots together with a brush. This is always magic for the students.
My distance learning kindergarten students rocked Earth Day Mosaic projects!!
Last year when we went into lock down students where in the middle of doing an Earth Day project. I was unable to get the projects back to the kids from last year so instead of throwing out the really cool looking paper, I used the die-cut to make the circles, I had some plates from a project I did years ago, some paper mosaic shapes as left overs from a previous project as well... it was a great combination to send home as a perfect little pack for these kindergarten students.
Here is the videos that I had the kiddos watch. I was really impressed with what they turned in.
Pulling out a lesson from long ago. Here is my original post. This year I chose to use this lesson to celebrate the importance of corn to the American Indigenous People. Plus, Kindergarten continued to practice cutting, and learned 3 ways to glue... glue stick, liquid glue, and glue sponge. Fun and successful lesson for the kids!
Gearing up for Art To Remember Fundraiser this year. Our K's and 1st grade will be creating a 'Line Lion'. I have created a resource to assist with this lesson shared with you FREE on my Teachers pay Teachers Store.
I also have a supporting video on my YouTube Channel. I will be using this lesson both in class and at home. Can't wait to see what the Hassan Artist create.
Kindergarten is focusing on identifying and making shapes in the first trimester. Skills we are working on is proper use of different media, cutting, and gluing. This project has it all. We started out by using different mediums...
Then we went over how to make a circle in the air. Please see this post of how I get the littles to join me in a little pretend. (Click Here) The magic tool is the BEST!! The following video is given to the kids in pieces. They work on one section at a time.
There is always a variety of skill levels from the young artist.
Then, week two we work on turning our circles into a patch. Here's how...
Cutting is the hardest part for my kindergarteners at the start of the year. We just keep working and working on it!!
Glueing can be quite a challenge as well!
Again, the results are varied! It's fun to see the variety in this lesson... most kids feel successful!
My Kindergarten Art To Remember Project for this year was a lot of fun and I think they turned out adorable! Here is how we did it!
I saw this post from @Raising.Kinley and thought, yes!! I want to do that with my Kindergarten! So... I did. The video below is how it worked for my class. The kids did a great job. They did not eat them (that I know of)... I brought the kids back in small groups so I could watch them closely. It went well. The only change I would make next time is I would leave the marshmallows out for a while to let them harden. They got a little slimy with the paint.
I was inspired by Pin Koro video of How to Draw 30 Animals. I chose only three to simplify it for my Kindergarten students. I also wanted to show how large to make the animal and how to break it down a bit. Here is my video...
I had students draw all three animals. They used sharpies right away. I have found that Kindergarten isn't afraid of making mistakes like older grades are, so just get right to it by cutting out the pencil and tracing over the lines and go straight to black outline. Then I had them choose their favorite drawing and that was the one they handed to me. The other two they colored and were able to bring home with them right away.
This year I have 50 kindergarten students, so my lesson plans look different. There wasn't enough room in my schedule to have all 5 sections of Kindergarten. It breaks my heart but it does allow me to make different choices with their lesson plans. For example... I could do this lesson and be able to make time to cut around the animals and glue them to the background without being overwhelmed.
Most of the time, I do have the students cut and outline, but since these are beginning of the year kindergarten students and they did make the background and they did draw the animal... I cut and mounted them for our Art To Remember project. When I'm working on Art To Remember the idea of a 'pretty' picture does have to be part of the plan. Parents want to purchase a lovely image for their keepsake and I can appreciate that. So... for one project only, I do the cutting and mounting for them.
Here is the good news... because I had these videos and materials, the three kindergarten teachers whose students do not come to my classroom did this lesson with their students too. They brought in volunteers and each classroom made the project as well so all students will have the opportunity to have an Art To Remember project. Here are some of their examples!!
This was such a success for my kindergarten students last year that I really wanted to share it with you now. Due to the bright colors and simple steps, this project was a winner for my Art to Remember fundraiser for my youngest Artist. It's always hard for me to find a lesson that can be successful for all students at the start of the year when my K's are coming in with such diverse backgrounds. I found these simples steps to be age appropriate for the students of my classroom.
I didn't even let the kids use pencils for this assignment. My goal of having the students start with sharpie markers was to avoid the 'mistake break' when a kid thinks that they can't do it and continue to erase and erase. K's, for the most part, have no worries... they just do what they are asked because they are just excited to be at this new place called school.
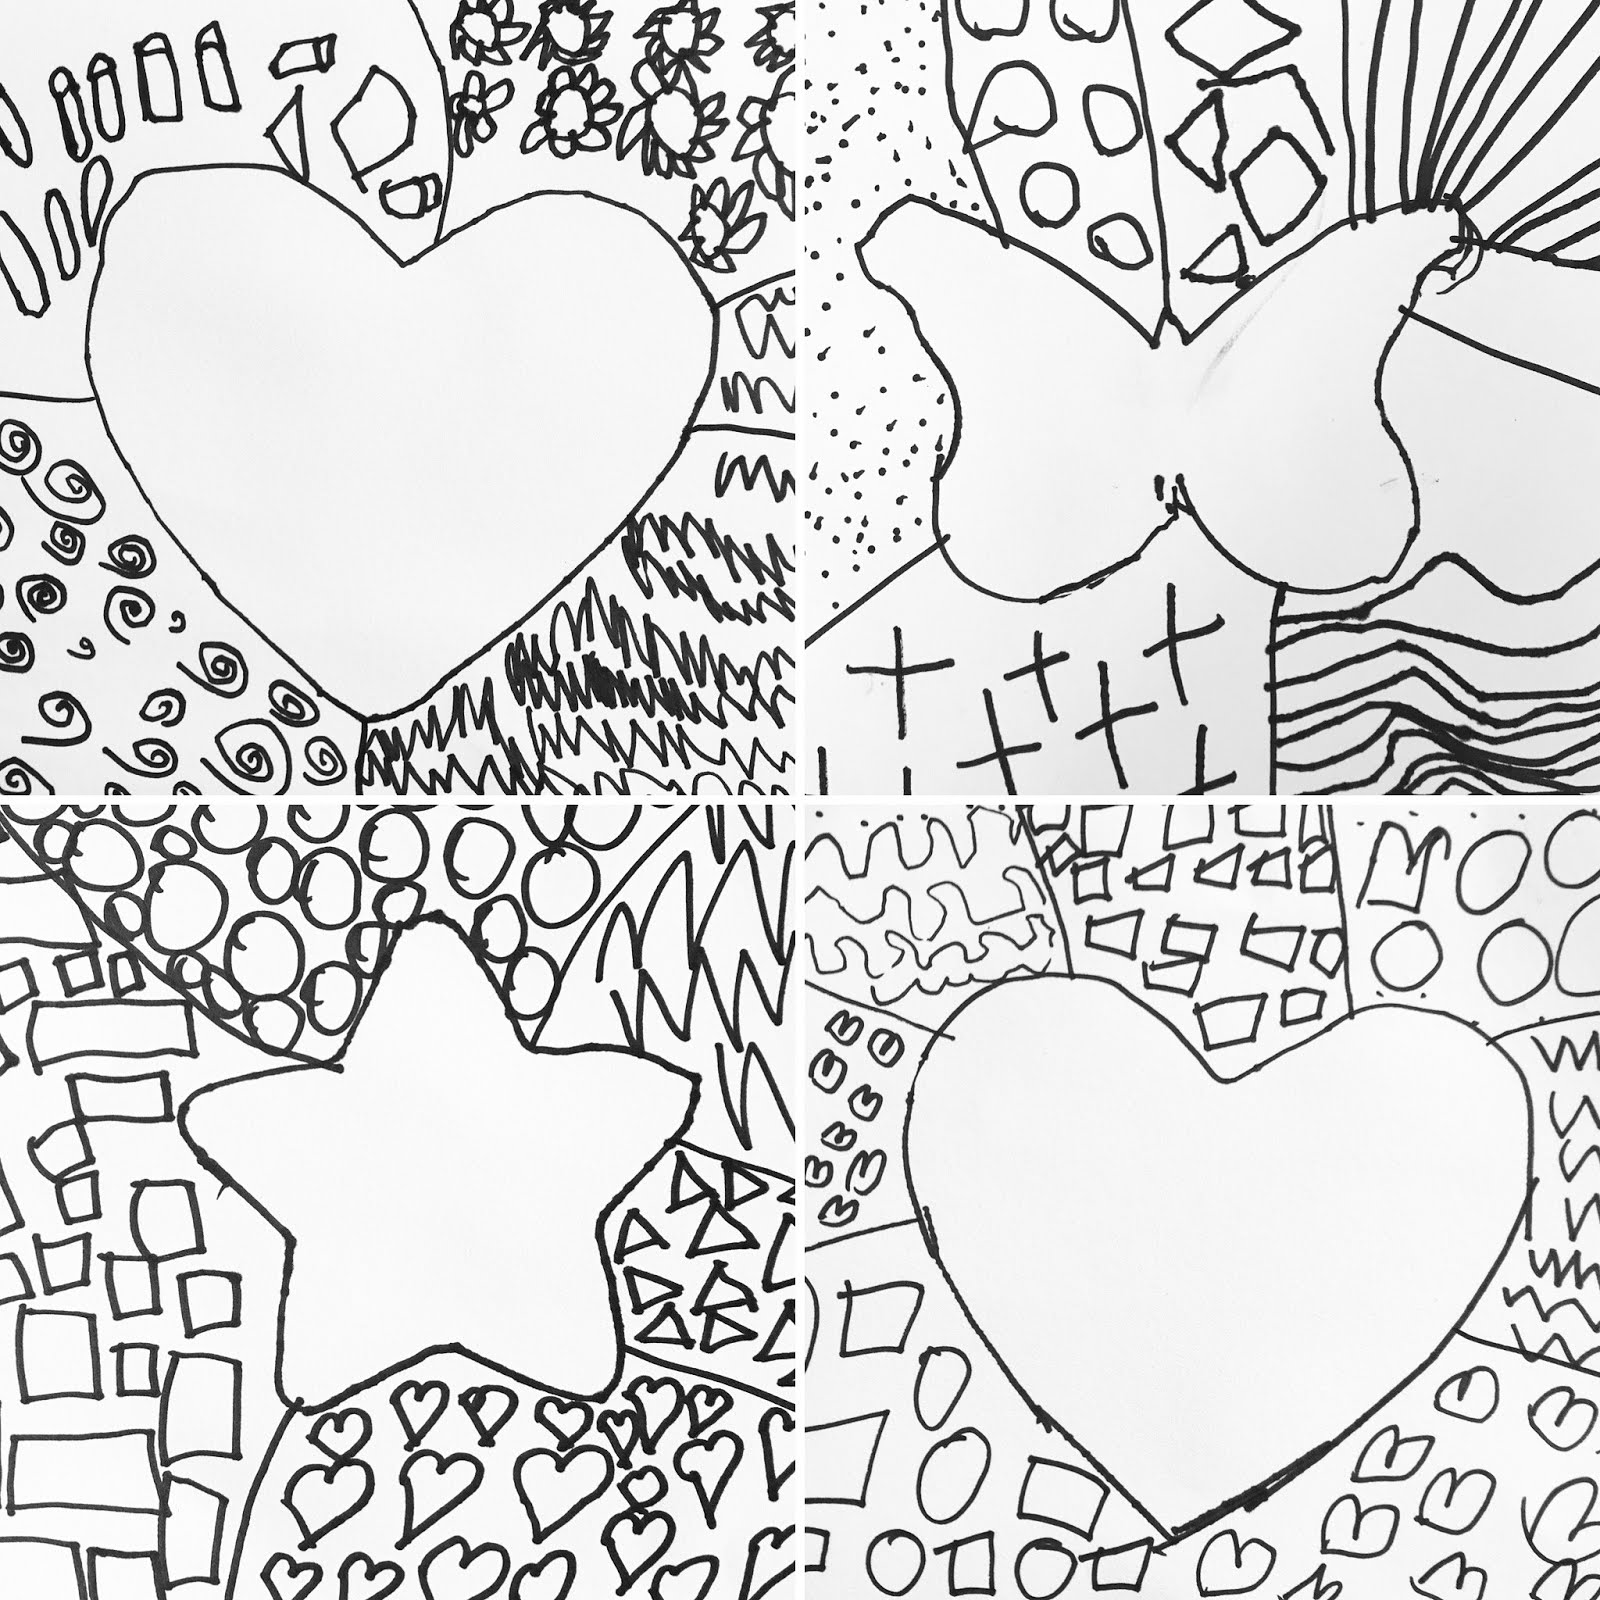
As the video shows, I had students start with a tracer in the center of the paper. They then drew 5 lines from the shape to the outside of the page. When demonstrating this I also showed a non-example of what it would look like to have all the lines on one side. This encouraged kids to use their whole page.
Once the page was divided, students created shapes and lines to make designs in each of the spaces outside of the shape. Having lot's of resources for the shapes and lines was important. (see slideshow at the bottom)
The students added oil pastel in each of the designs. I had a bucket of oil pastels that kids would go to to get one oil pastel. Then when they were ready to change out the color they would come back and 'trade the color in'. I love doing this so kids are moving around the room... movement helps my wiggly kids for sure.
Another classroom management tip: I place boards down on the table tops when students are working with sharpies so that if they go off the paper, it doesn't end up on the table. I call these drawing boards.
One color I did not let students use when adding oil pastel was black. I used black later on in the project when I had students trace the shape and lines to help them stand out.
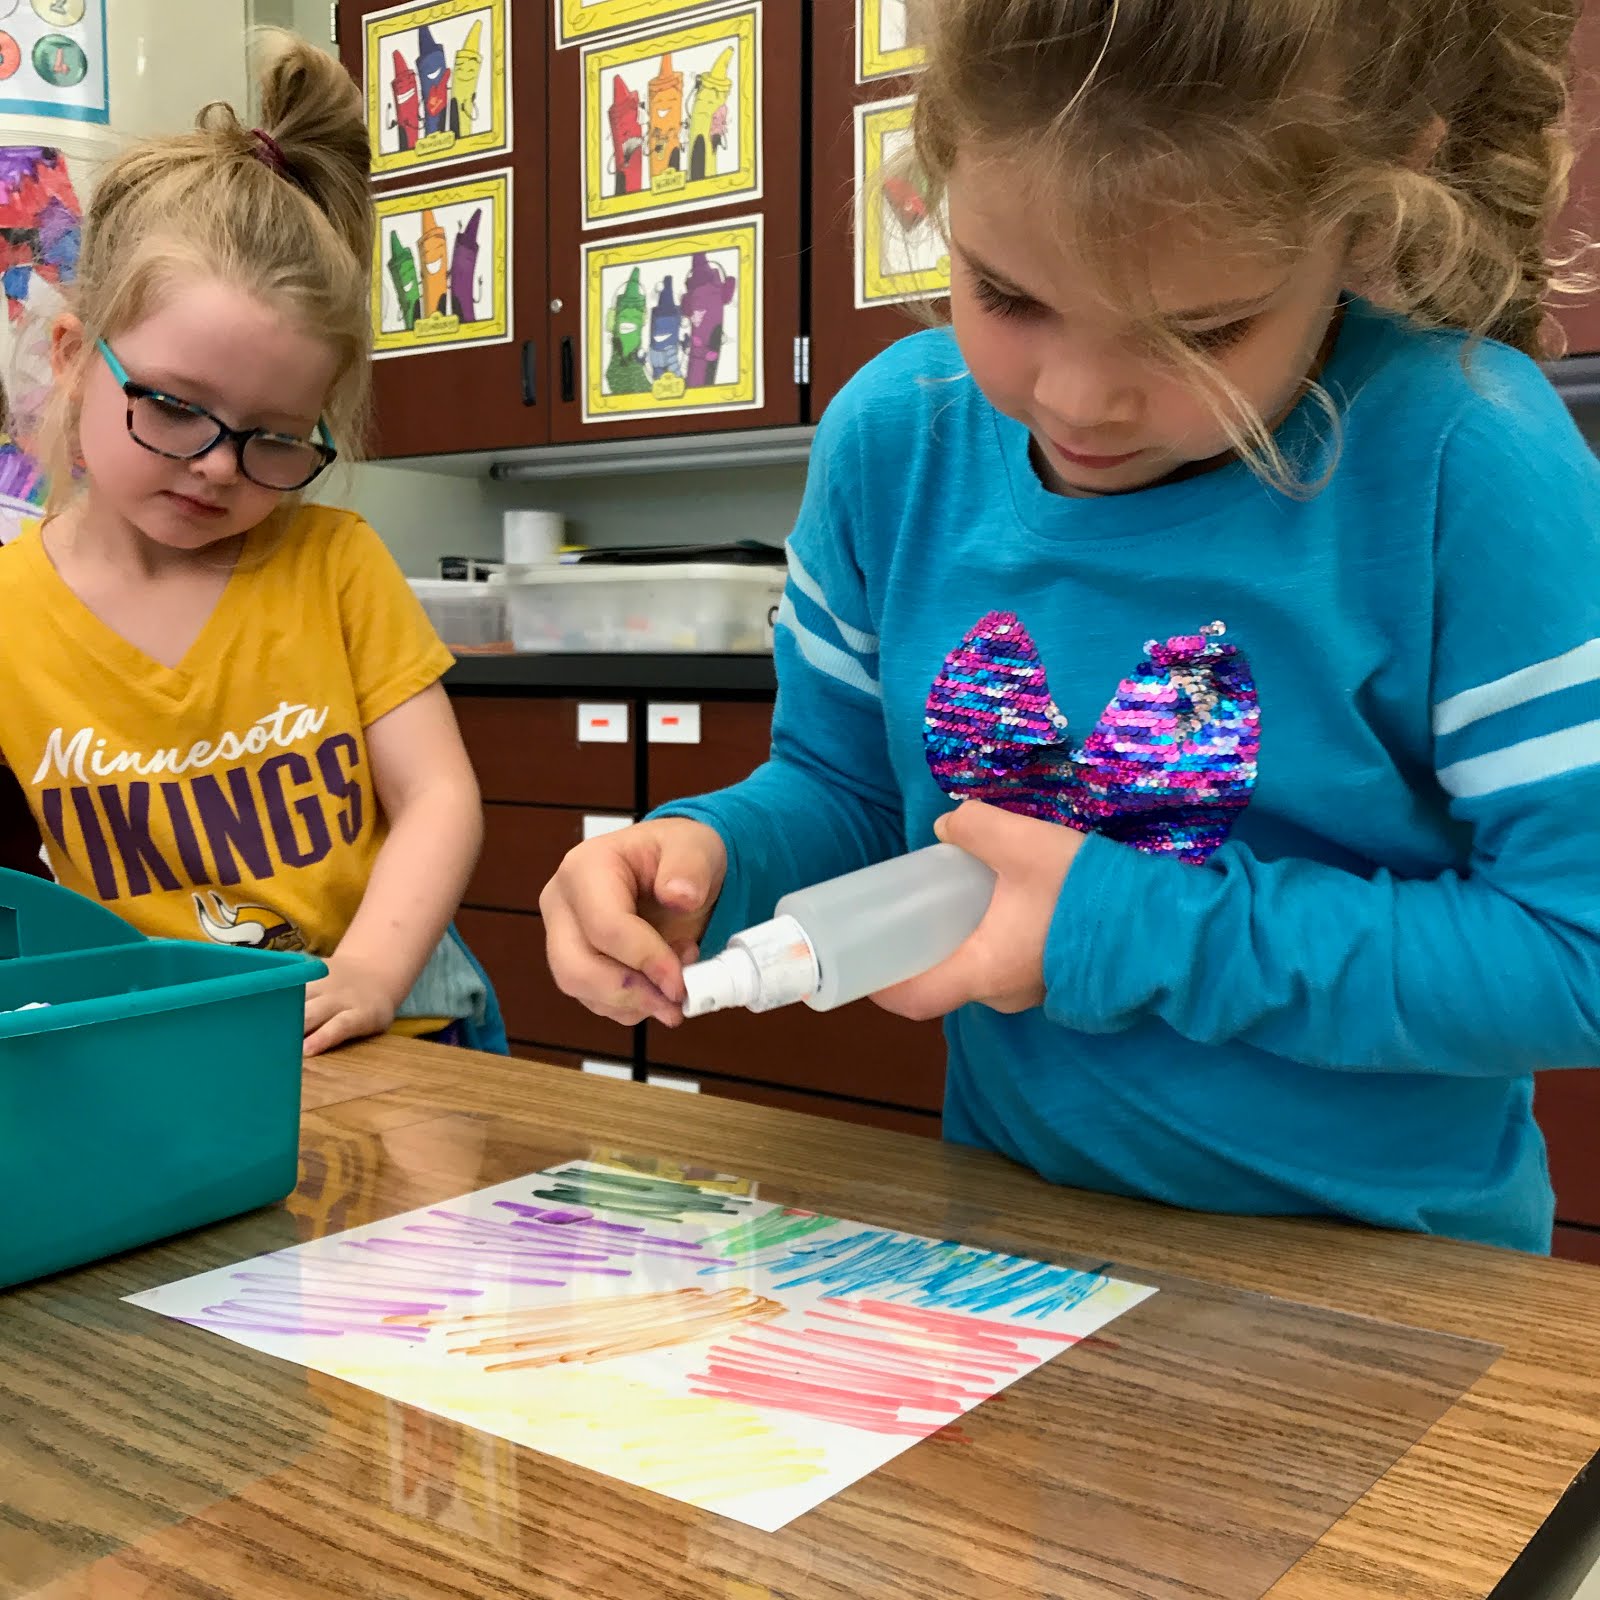
The marker prints were a blast. I did this in small groups as students were working on another little project independently. This was my set up, plastic sheets over white pieces of paper. The plastic was taped down and the paper was there to show students how big of a space they needed to color on with the markers. You could also get a volunteer to come in and help with the station if working independently is not a skill your students have yet.
This is one of the crews in action. The fun part about this is that it really didn't matter how the students colored on the plastic. One thing I emphasized was lots of colors, other than that, it really didn't matter.
Students then squirted some water onto the plastic. I also had a spray bottle in hand that allowed me to give a little extra squirt if needed.
Finally, the kids pressed their art upside down onto the wet marker. They gave the paper a good "back massage" and the colors transferred to their paper. It was magic!!
Below was a simple slide show that I had students use as I instructed. Feel free to use it as well.