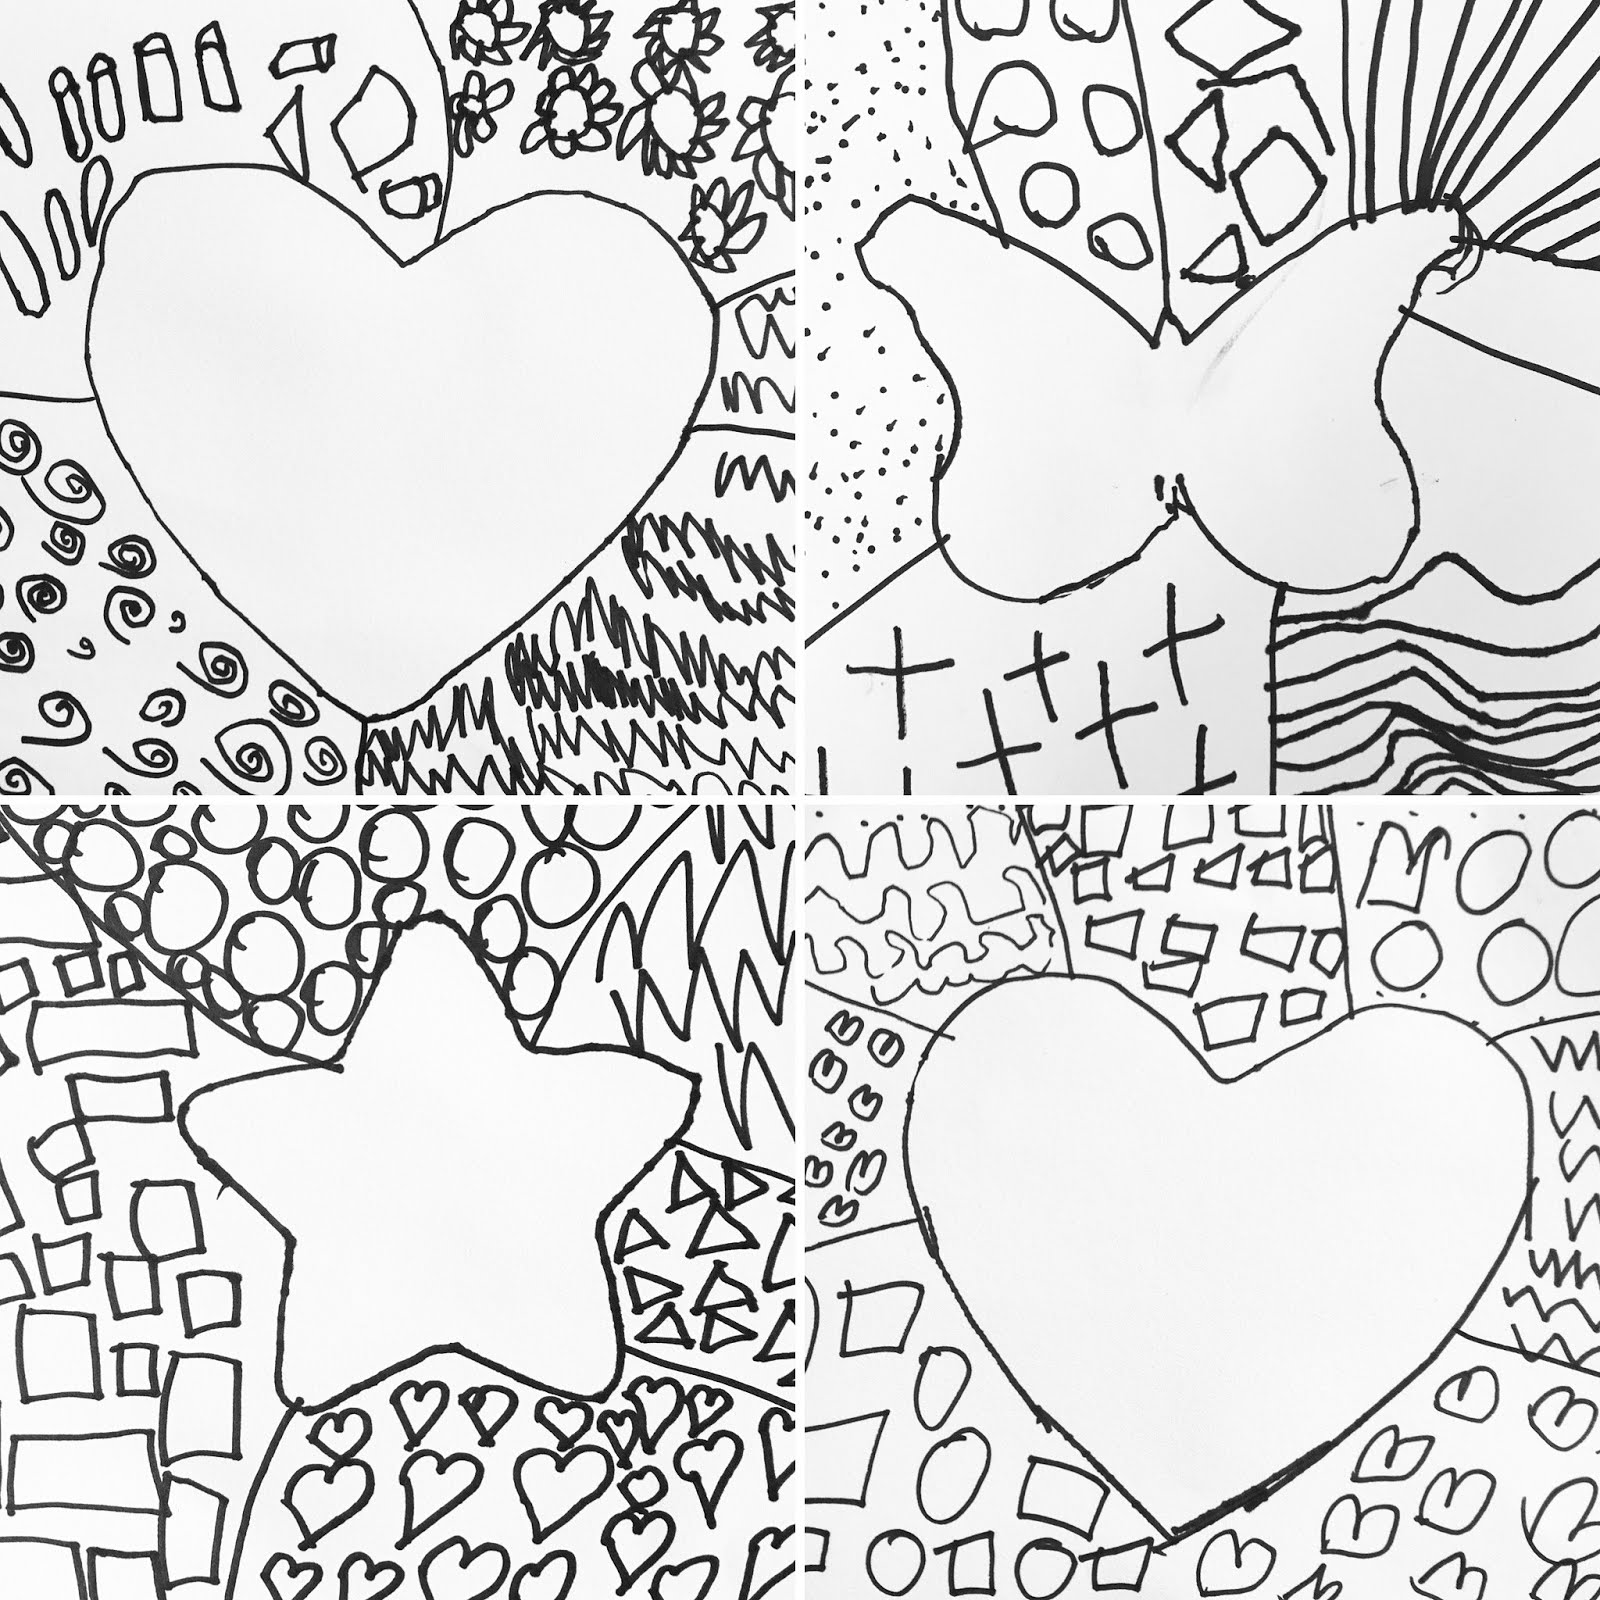
Gearing up for Art To Remember Fundraiser this year. Our K's and 1st grade will be creating a 'Line Lion'. I have created a resource to assist with this lesson shared with you FREE on my Teachers pay Teachers Store.
I also have a supporting video on my YouTube Channel. I will be using this lesson both in class and at home. Can't wait to see what the Hassan Artist create.
I'm excited to be teaching secondary colors using playdough in my upcoming unit. I would appreciate your help. I'm looking for parents who are willing to make a batch (or two) of playdough to send into the classroom. We will be studying Joan Miró for the next two lessons. Take a look at the past lesson that I have done, click here. Below is a very successful playdough recipe that I would love you to use if you would like to help out.
I will need 5 batches of each primary color (red, yellow, and blue). I would like the playdough by December 2nd. You can email me if you are willing to make a batch of playdough, Nichole.Hahn@isd728.org
IF your student is allergic to any of these ingredients, please let me know. I have done a health check with our office, but it never hurts to double-check.
This was such a success for my kindergarten students last year that I really wanted to share it with you now. Due to the bright colors and simple steps, this project was a winner for my Art to Remember fundraiser for my youngest Artist. It's always hard for me to find a lesson that can be successful for all students at the start of the year when my K's are coming in with such diverse backgrounds. I found these simples steps to be age appropriate for the students of my classroom.
I didn't even let the kids use pencils for this assignment. My goal of having the students start with sharpie markers was to avoid the 'mistake break' when a kid thinks that they can't do it and continue to erase and erase. K's, for the most part, have no worries... they just do what they are asked because they are just excited to be at this new place called school.
As the video shows, I had students start with a tracer in the center of the paper. They then drew 5 lines from the shape to the outside of the page. When demonstrating this I also showed a non-example of what it would look like to have all the lines on one side. This encouraged kids to use their whole page.
Once the page was divided, students created shapes and lines to make designs in each of the spaces outside of the shape. Having lot's of resources for the shapes and lines was important. (see slideshow at the bottom)
The students added oil pastel in each of the designs. I had a bucket of oil pastels that kids would go to to get one oil pastel. Then when they were ready to change out the color they would come back and 'trade the color in'. I love doing this so kids are moving around the room... movement helps my wiggly kids for sure.
Another classroom management tip: I place boards down on the table tops when students are working with sharpies so that if they go off the paper, it doesn't end up on the table. I call these drawing boards.
One color I did not let students use when adding oil pastel was black. I used black later on in the project when I had students trace the shape and lines to help them stand out.
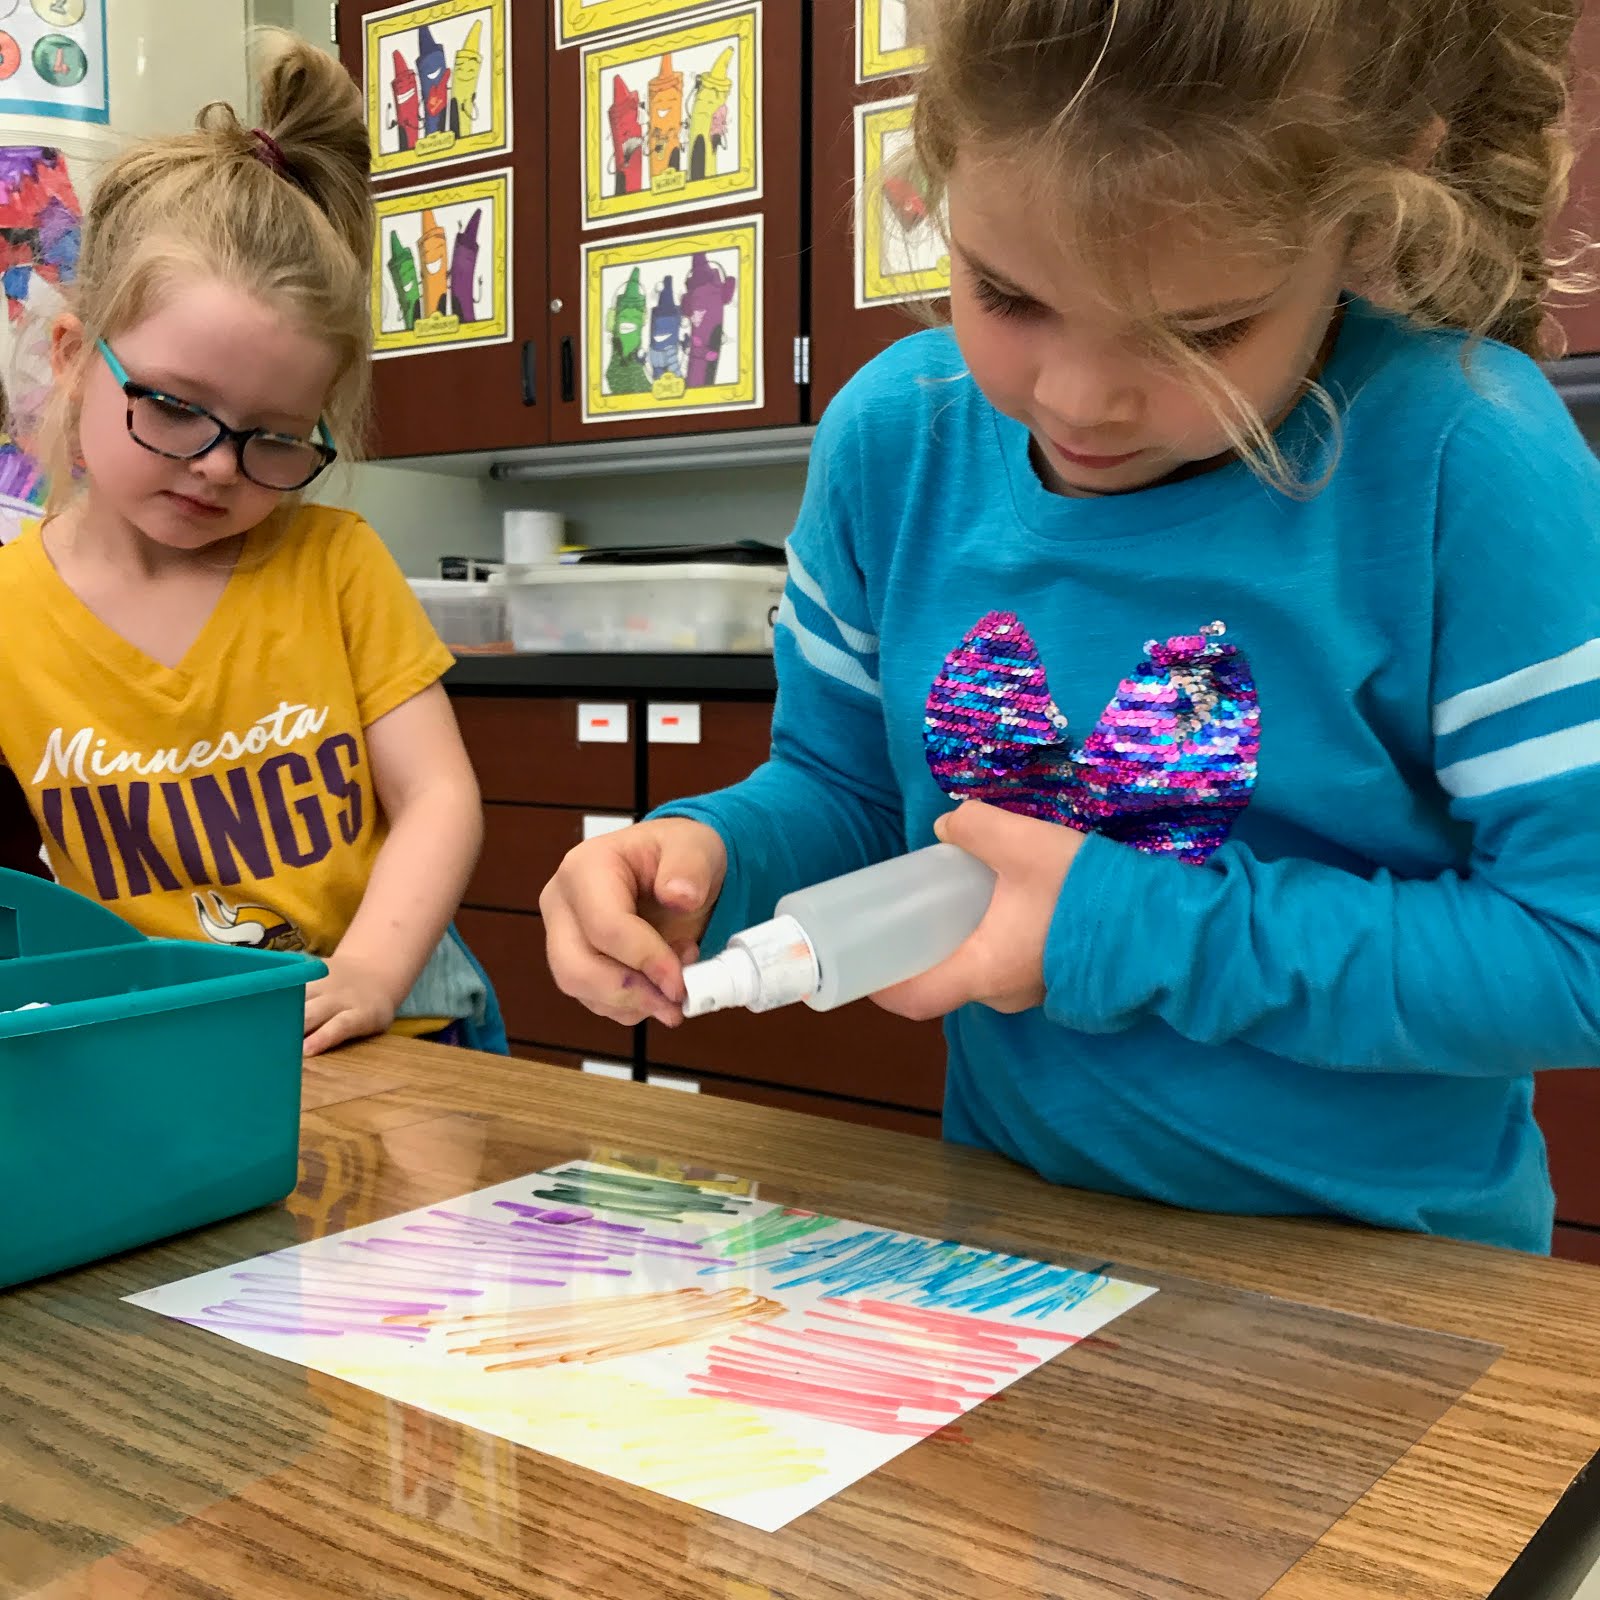
The marker prints were a blast. I did this in small groups as students were working on another little project independently. This was my set up, plastic sheets over white pieces of paper. The plastic was taped down and the paper was there to show students how big of a space they needed to color on with the markers. You could also get a volunteer to come in and help with the station if working independently is not a skill your students have yet.
This is one of the crews in action. The fun part about this is that it really didn't matter how the students colored on the plastic. One thing I emphasized was lots of colors, other than that, it really didn't matter.
Students then squirted some water onto the plastic. I also had a spray bottle in hand that allowed me to give a little extra squirt if needed.
Finally, the kids pressed their art upside down onto the wet marker. They gave the paper a good "back massage" and the colors transferred to their paper. It was magic!!
Below was a simple slide show that I had students use as I instructed. Feel free to use it as well.
After Billy Kheel was finished with his week of working with Hassan Elementary, we have been inspired to create like Billy! My Kindergarten and 1st grade created a stuffed fish like Billy... but instead of felt, they used paper.
Students first took the time to look at the Artwork that we had created collaboratively with Billy and they drew their fish out on a large format sheet of paper that had been folded in half. Some kids choose to create a fish in a very realistic way and others created fish from their imagination.
After drawing and coloring in our first class, the second class was the stuffing. Students LOVED using a stapler... I mean really loved it. Out of 250 students... I only had one kid staple themselves (and he survived to see another day... and probably learned not to do that again). I'm not going to lie... Stapling with littles does create some problems to be solved. I would suggest having refill staples, a needle tool (for clay) and a needle nose plyers... these tools will help you when "this stapler doesn't work". I have been able to 'fix' every stapler for several years through thousands of little hands using them.
The stuffing was successful for most students. We used scrap paper and they loved ripping the pages to stuff. I kept stressing, "stuff GENTLY!"
The kids were sooooooo, soooooo, sooooo proud of their fish!
I have a few more postings of stuffed fish from the past. I have never done this with kids this young... It went OK... 1st grade was more successful than kindergarten for this project. Click here to see the previous post.
February is the month of love, and sweet treats, and of course HEARTS!! For our youngest Artists drawing and cutting hearts is not an easy task and it needs to be broken down for our little guys. I like to start in January with these skills. Here is the video that I typically play for the kiddos.
I teach the drawing of a heart to reinforce the type of writing lessons we use in our district. They talk about rainbow curves, it's a bit of letter identification as well. I always say, 'You might know another way to do hearts and that's OK too!". I have found that if we use something they are learning like how to make letters to draw, it seems to stick in those brains just a little tighter.
Typically, I would show how to draw a heart first. I then use whiteboards to draw hearts right there after instruction while on the carpet. I might give a challenge like, "See how many hearts you can draw?" or "Can you draw hearts inside of hearts?" maybe, "Can you make your heart into something else?" or even, "Can you make a pattern using hearts and some of our other shapes?" By doing the little challenges, you are allowing your beginning Artist to practice this new skill, yet allowing your more advanced Artist the prompts to advance their skills. In whole, the heart drawing lesson is about 20 minutes long.
Then I play the heart cutting portion of the video. I always pause the video where I ask what I did wrong with the cutting. We have a rich discussion and almost everytime someone thinks I ripped the heart apart because I opened it up too fast. See... This is why we need to take a moment to let these new humans to this world infer... guess... investigate. Cutting a heart is not just that... It can be a wonderful lesson of discovery. I not only show the video but then I have them tell me how to cut a heart after the video. They walk me through it and I play forgetful and try to make mistakes so they can all say, "NOOOOOOOO, that's not how you do it?" I do have a lot of fun teaching new skills to the little's. For this portion, they have already put away their whiteboards for a movement break before the video about cutting the hearts, and now they have to get three supplies. They need scissors, a pencil, and paper (I use recycled copy paper so they have an endless supply). For the first heart, I walk them through it; fold your paper... start on the fold... draw the curved line... now the diagonal back to the fold... OK, now let's see what we get, go ahead and cut. Most students will be successful, one or two will not. You tell the students they can use all the paper they want (but only one paper at a time, this allows students to move throughout the class and keep their bodies active) For those kids that didn't get it, tell them to give it another try. Once you have identified the few that need that extra help, gather them by you and walk them through it. They need to have one good heart to feel successful. I start suggesting challenges again as well, "How many hearts can you cut out of one paper?", "Who can make the biggest/smallest heart", "Can you cut a heart inside of a heart?"... Working on challenging those more advanced students keeps them interested. I will say clean up needs about 3 more minutes than usual on a cutting day like this. I tell the kids they can pocket all the hearts they have made and EVERY scrap left needs to make it into the trash. This finishes up my hour of teaching about hearts.
Now you have laid the basis for so many lessons and you've given a skill to the kids to work on. This might allow them to share a heARTfelt message to a loved one for the month of February.
Here are some other ways that you can use HEARTS in your lessons...
Create Heart Stations:
I have two ways that I have done this in the past. First is when I created stations for K-2nd grade so I would have some upper-level challenges and some beginning options. I worked this by createing 6 stations and allowing choice at each station. (see previous post) The other is geared towards the littles. After I had the group lesson of how they can create hearts, the next week they got to choose stations to go to for more discovery (see previous post).
Reflect and Share:
Once I have taught students a simple skill, I like to have them share it with their parents on an app we use in our district called Seesaw. Check out this post to learn more and see examples.
Family Portraits:
Here is another way that I have used the skills of teaching how to create a heart. The following week we start by making a family portrait using the hearts. This is honestly one of my fav projects with the littles. In my previous post, I have more examples, tips and tricks, and even a video tutorial. And here is a little different take on this lesson (click here)
Clay Mosaic Hearts:
If you are up for a clay day, A great 'Day Two' lesson for the skill of making hearts is this clay... or maybe adapting this lesson for paper. Either way, it's awesome! Click here for the mosaic clay hearts.
Decorating for the upcoming holiday:
These hearts were done by my students a long time ago for a very good reason. I have the steps of how to create them on this previous post.
Valentine's Day Party Activities:
This idea was offered as a station idea above, but I think it's a great party lesson. Once kids know how to make hearts, let them take it to another level by adding in glue, staples, or tape to create heart sculptures (or hats).
Wax Crayon Hearts:
Someone recently commented on this old video of mine and mentioned that it reminded her of the 1980's and her childhood. I responded, "what was good for us, is good for them..." This video featured my now Middle School kids, This is yet another fun way to create hearts for decoration. (Gosh, they were cute :) )
Update: So I go to post this and share it on FB to our Art Teaching Tribe and I see Cassie Stephens has also done an amazing post on the same thing... Be sure to check out her AMAZING posts about heart-related projects that tie into Art History!
I was inspired by a post from @artwithmrsmac from earlier this school year. I was impressed with the simplicity of this tool and the size of this powerful teaching tool that will allow me to store them with ease year after year. @artwithmrsmac... This Minnesota teacher thanks you for inspiring me... Yah for the Art Ed Tribe!
I used these sticks when talking about Tactile Texture. It was a great little 'cool down' from the activity that we had done in the hour. This support activity took 10 to 15 minutes. See the video below to get an idea of how I used the sticks.
Here are some of the tools I used to create my texture sticks. I thought about pipe cleaners and I think any pipe cleaners would work but I happened to have ordered this HUGE pipe cleaner set just to see what I could do with them. I'm not sure at this point what else I can use them for, but it was perfect for the texture sticks :)
A lot of our Art Rooms have a little extra Aluminum left over from students sculptures. After using a tool to press out some of the metal, I added a little color to make it look more interesting and cut it to shape to glue onto the stick. I used hot glue gun for all of these sticks.
Speaking of hot glue guns. I also experimented with these Cool Shot glue. I thought this would be a good way to give students a feel for hot glue guns in a safe way. To be honest, I didn't get them out this year for student use... maybe next year. I did, however, use some of the color glue sticks to create a bumpy texture on one of the sticks.
Tissue paper has a feeling like nothing else. It was a good addition to this project. I found using glue gun worked for the application but I did scorch my fingers once or twice... part of the job I think.
These little fuzzy balls are another perfect fit. I think they worked well and I loved the bright beautiful colors. It looks so inviting!
I also used sandpaper, feathers, and felt. I have no tips or tricks for these three so I included them on this final image altogether.
Overall, this was a great supporting activity for Tactile Texture. I have posted often on Texture, please see the previous post to learn more.
First grade Pinch Pots Pets were amazing. I love the variety and choice given to the students as they created their little Animal. Mrs. Hare reviewed pinch pots with these students first. Explaining, creating, and them coming back for more instruction. Students were then learned how to slip and score their 'extras' to create their pinch pot into a pet.
After firing, our students used Tempera Cakes to decorate as I did the k's (see the previous post). These were a great choice for both my K's and 1st-grade students. These 6 and 7 year-olds have a little more patients than the K's so I chose to dip their works in a bath to help seal it. They had to leave the clay in my classroom a bit longer, but it was worth it because there was GLITTER involved. I mixed Glitter Medium (I have used both of the Mediums pictured above) 3 parts water to one part Medium in a container deep enough to dip these little projects in. See this video to see how I did the dipping. I used the mixture day after day just adding a little water and mixing it up again with a spatula. The racks that I set them on our locker shelves. TIP: if you check the lockers at the end of the year, once students leave... I bet you will find several locker shelves that you can take for this purpose.
Take a look at some of their awesome works of Art...
Clay week 2018 was a success! In the next couple of days, I will be sharing the events of the week and the finished products of Clay Week 2018. As some of you know, I'm allergic to clay. I miss working with it so badly, and perhaps I could with just a little itchiness... and slightly puffy eyes. But when I work with class after class in an Art Education way... My eyes swell shut and I have respiratory issues. The last couple of years I have exchanged with another teacher in my district (see previous posts). This year, I invited a fellow Art Teacher into my class as an Artist in Residence!
Tracy Hare is an experienced Art Teacher at Becker Middle School in Becker Minnesota. I have known Tracy professionally and admired her work for years. As I took the job at Prairie View Elementary and Middle School, I learned that I was going to be teaching her kids. How exciting! Mrs. Hare took a year off to pursue other avenues in her life, but it gave her a flexible schedule this year. I proposed a Visiting Artist situation and she excepted... and I'm so glad that she did.
Tracy visited my classroom for a 6-day rotation working with the elementary students. Because our Middle School portion runs on a quarterly schedule. I was not able to offer them the clay experience. She worked with K-5th grade and did a different project with every grade level. I can't wait to share the 6 lessons that she did with the kids and a few tips and tricks on the finishing on the projects.